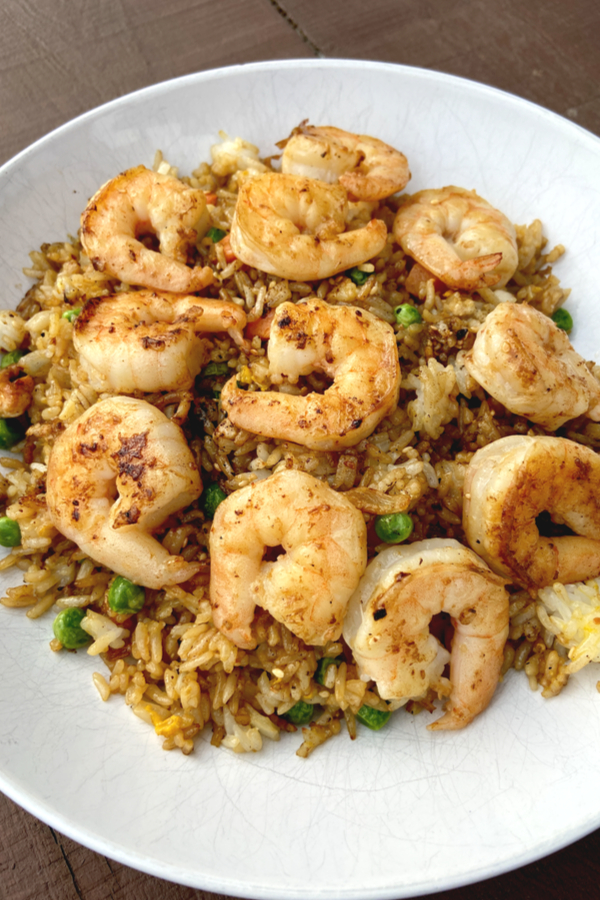
I finally have learned how to make a Hibachi Shrimp recipe that tastes like my favorite Japanese Steakhouse restaurant. And that includes the fried rice that goes with it!
Whenever I eat at a Japanese steakhouse I always debate whether I should order the Hibachi Chicken, Hibachi Steak, or Hibachi Shrimp off of the menu.
Although I like them all as individual items, I don’t particularly care for the combo meals that include two or three of the protein choices. So that leaves me with the dilemma on which delicious dinner to order.
And because I can only order one, I always end up craving the other two shortly after our trip to the restaurant. But luckily I can replicate those hibachi dinner recipes in my kitchen or on my Blackstone flat top grill.
We have also replicated the Hibachi Chicken and Vegetables recipe, and have learned how to make the famous Yum-Yum sauce as well. So for today’s new recipe we though we would share our recipe, tips and tricks.

Hibachi Shrimp Recipe
Ingredients
Sesame oil
Cooked and cooled white rice
Onion
Eggs
Frozen peas and carrots
Soy sauce
Butter
Garlic
Sesame seeds
Kosher salt & pepper
Jumbo shrimp, peeled and deveined
Lemon juice
Equipment Required
- Flat Top Gas or Electric Griddle, Wok or Large Skillet – we love our Blackstone Griddle. Not only do we use it to make this Hibachi Shrimp recipe, we also use it to make hibachi chicken, chicken Philly sandwiches and of course, all things breakfast including breakfast potatoes.
- Long spatulas

Instructions
Begin making this hibachi shrimp recipe by heating a flat top griddle, large skillet or wok over medium high heat for at least 5 minutes.
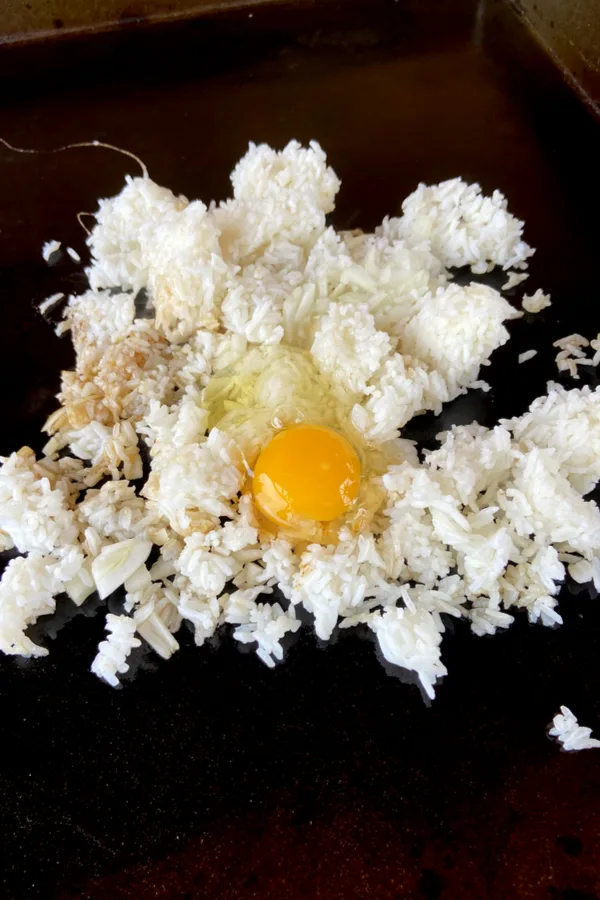
Once it is nice and hot add the sesame oil and spread it across the pan with the bottom of the spatula. Then add the rice, onion, and beaten eggs.
Cook for 2 minutes until the eggs begin to cook. Be sure to mix the ingredients together as they cook by dicing and flipping them with the spatula.
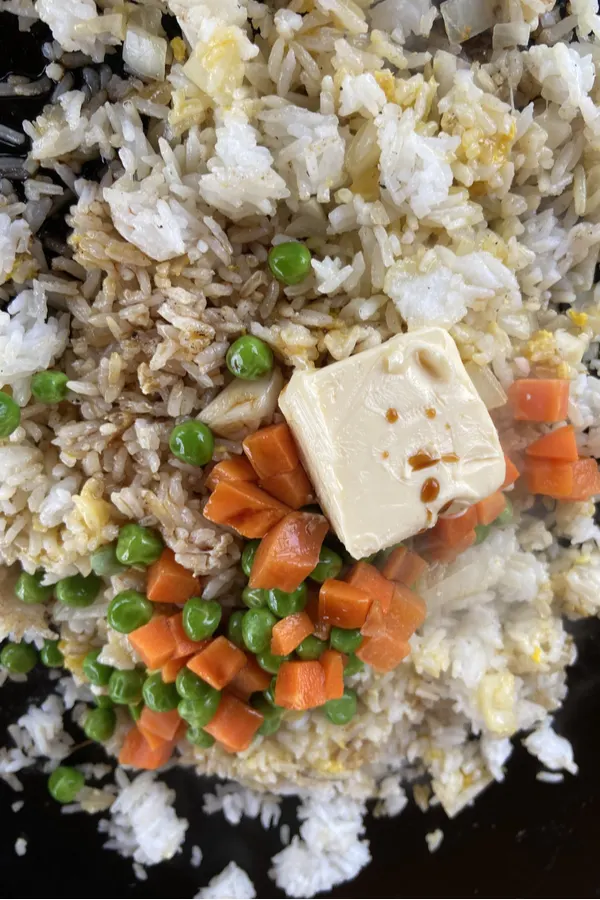
Once the egg is barely cooked add the peas and carrots to the rice mixture and cook for one minute.
Immediately add the soy sauce, butter, garlic, sesame seeds, kosher salt and pepper to the rice mixture. However, go light on the salt as the soy sauce is naturally salty, even if you are using low sodium soy sauce.
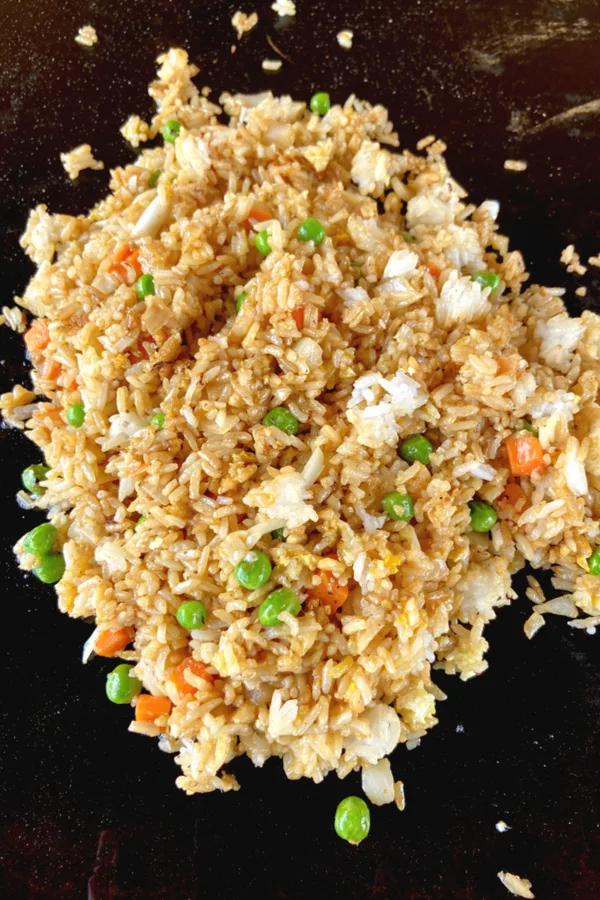
Cook for approximately 4-5 minutes, stirring frequently until the ingredients are evenly distributed throughout the rice. Then move the rice to the side of the griddle or skillet.
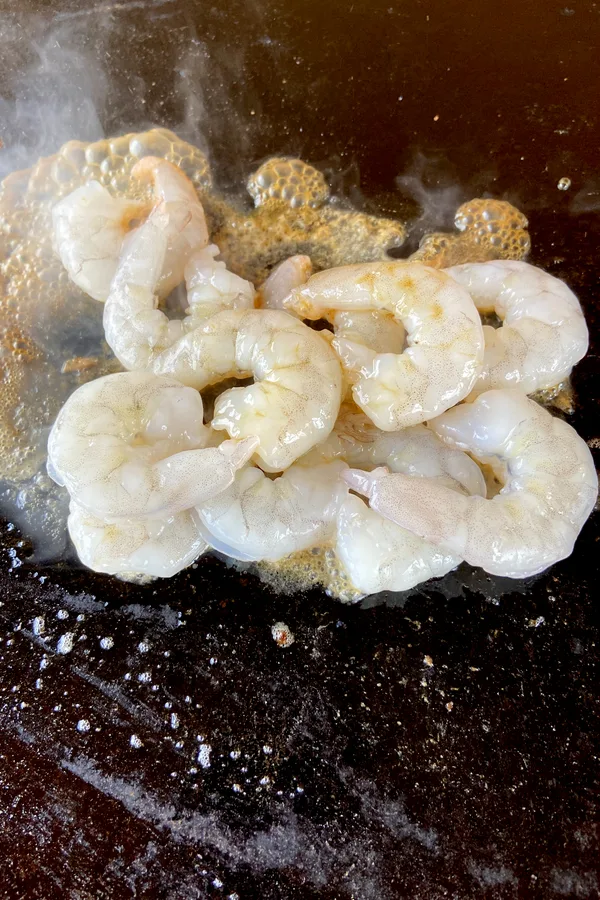
Then add the remaining sesame oil to the open area in the skillet and add the shrimp, soy sauce, and lemon juice. For this recipe, the hibachi shrimp will cook in about 3 minutes or until the shrimp just turn pink in color.

Once the shrimp is cooked, mix it together with the rice mixture. Serve immediately with Yum Yum sauce and/or Soy Sauce on the side.
Enjoy!
Frequently Asked Questions
You can certainly add other vegetables to your Hibachi Shrimp recipe. Many people add diced zucchini, yellow squash and broccoli to this recipe. Simply saute them on the griddle at the same time that you add the onion.
You do not have to use fresh shrimp for this recipe. However, if you do use store-bought frozen shrimp be sure to thaw it before adding it to the hot cooking surface.
The best part about cooking shrimp is that it ‘tells’ you when it is cooked. The color of the shrimp will turn pink in color when it is cooked. Don’t let it overcook as it will become tough and difficult to chew.
Absolutely! Simply skip the instructions that tells you how to make fried rice. Heat the white rice and serve it with the cooked shrimp.

How To Store & Reheat
This hibachi shrimp recipe refrigerates very well and can be used for leftovers for up to 5 days. I even eat it for breakfast when I am in a hurry. You can also freeze it for a quick and easy meal whenever you need one.
The easiest method to reheat your meal is in the microwave. I highly recommend cutting the shrimp in small bite size pieces so it doesn’t overcook during the reheating process.
Add a little water or chicken stock to the rice and shrimp mixture and heat in 30 second increments, stirring between each time.
You can also heat the mixture in a skillet with a little liquid or steam it for 3 minutes in an electric pressure cooker, such as an Instant Pot.

Other Shrimp Recipes
- Shrimp Ceviche
- Air Fryer Bang Bang Shrimp
- Instant Pot Low Country Boil
- Bang Bang Shrimp Pasta
- Shrimp & Arugula Risotto
- Honey Sriracha Shrimp & Grilled Pineapple
- Crock Pot Jambalaya

To receive our 3 Recipe Articles in your inbox each week, sign up for our free email list located in the middle of each recipe or email me at contact@makeyourmeals.com. You can also follow us on Facebook and Pinterest. This article may contain affiliate links where a small commission is paid if you purchase a product at no additional cost to you.
Hibachi Shrimp Recipe
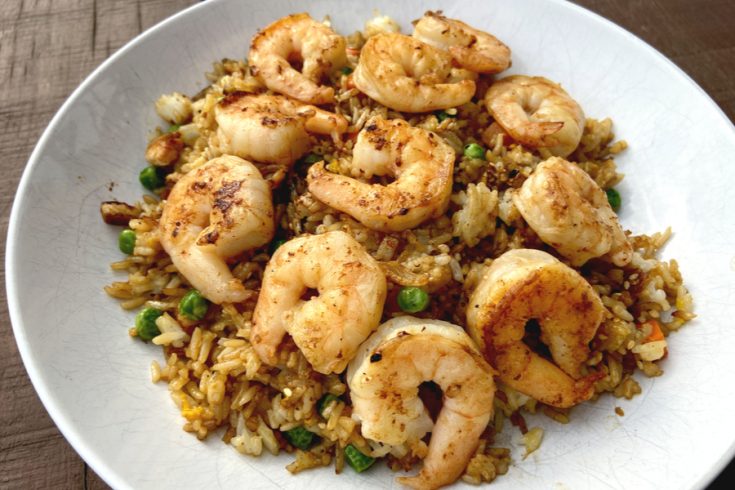
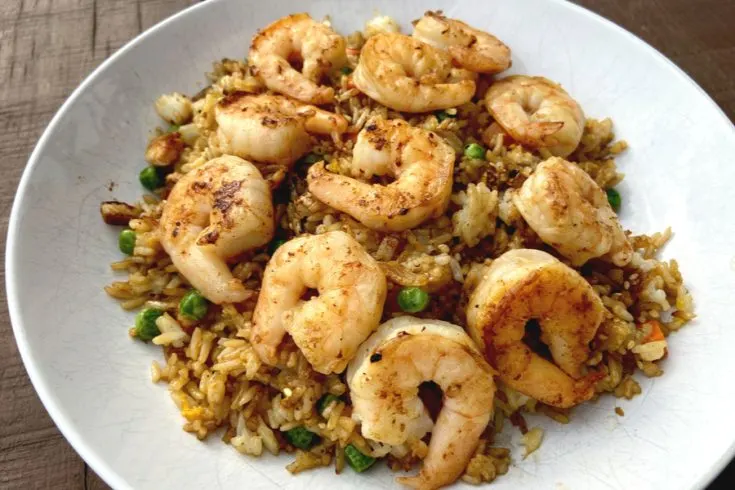
This hibachi shrimp recipe tastes even better than your favorite Japanese Steakhouse restaurant. Recipe includes how to make the most delicious fried rice as well!
Ingredients
- 2 Tbsps sesame oil
- 4 cups cooked and cooled white rice
- 1 onion diced
- 2 eggs beaten
- 1 8 oz bag frozen peas and carrots, thawed
- 1/3 cup soy sauce
- 2 Tbsp butter
- 3 cloves garlic minced
- 2 teaspoons sesame seeds
- Kosher salt, to taste
- Ground black pepper, to taste
- 1 Tbsp sesame oil
- 1 pound jumbo shrimp, peeled and deveined
- 1 Tbsp soy sauce
- 2 teaspoons lemon juice
Instructions
- Heat a flat top griddle or large skillet to medium high heat for at least 5 minutes.
- Add the sesame oil and spread it across the pan with a spatula. Add the rice, onion, and beaten eggs. Cook for 2 minutes mixing the ingredients together as they cook.
- Add the peas and carrots to the rice mixture and cook 1 minute.
- To the pan add the soy sauce, butter, garlic, sesame seeds, kosher salt and pepper. *Go light on the salt as the soy sauce is naturally salty. Cook for 4-5 minutes, stirring frequently.
- Move the rice to the side of the griddle or skillet and add the remaining sesame oil to the open skillet area and then add the shrimp, soy sauce, and lemon juice. Cook 3 minutes or until the shrimp just turn pink.
- Once the shrimp is cooked, mix it together with the rice mixture.
- Serve immediately with Yum Yum sauce and/or Soy Sauce on the side.
Notes
Recipe provided by Make Your Meals
Nutrition Information:
Yield:
6Serving Size:
1Amount Per Serving: Calories: 387Total Fat: 15gSaturated Fat: 4gTrans Fat: 0gUnsaturated Fat: 9gCholesterol: 232mgSodium: 1812mgCarbohydrates: 38gFiber: 2gSugar: 3gProtein: 25g
Nutritional Information is to be used as a general guideline only . Nutritional calculations will vary from the types and brands of the products used.