When I first made this Peanut Butter Cheesecake no one believed me that I made it in the Instant Pot.
In fact, I couldn’t believe it myself! It was absolutely gorgeous and worthy of a spot in a bakery store’s front window.
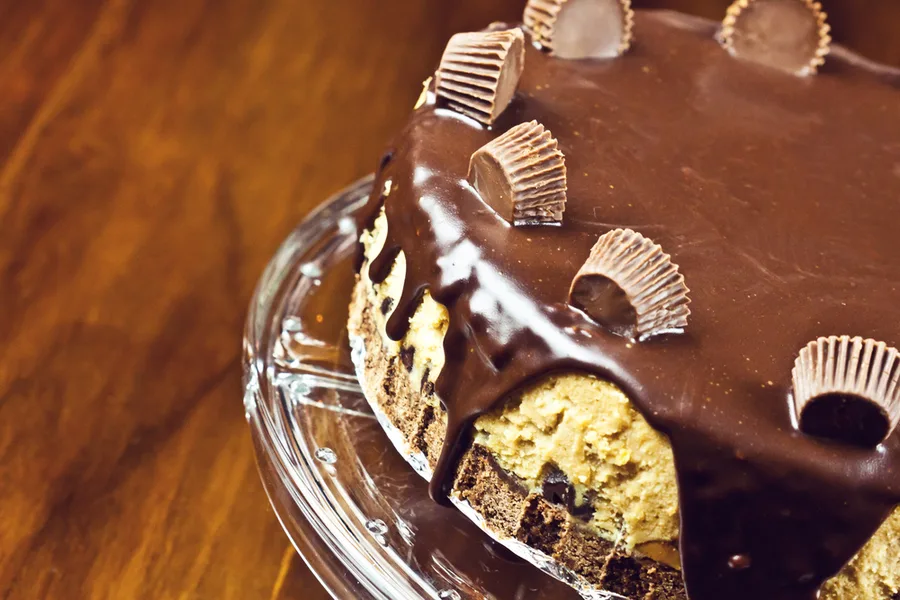
But best of all, it tasted absolutely incredible! A creamy cheesecake flavored with peanut butter from the crust up. Including peanut butter cups scattered throughout the center and on top of the chocolate ganache icing.
Need I say more???
So when I asked my husband what dessert he would like for Father’s Day this year, he skipped over his standard answer of Lemon Meringue Pie and asked for me to make him this Instant Pot Peanut Butter Cheesecake.
As shocked as I was, he explained that it was the absolute BEST cheesecake that he has ever had!
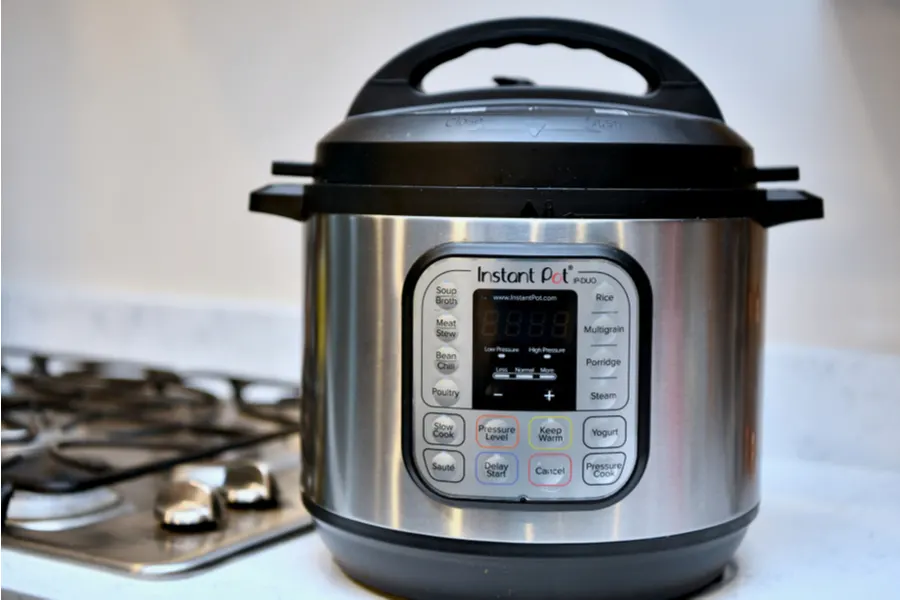
Unlike me, he has never been a big cheesecake lover. But over the years he has learned to like cheesecake. That is probably because I make them more often because I use my 6 quart Instant Pot Duo rather than the oven.
Beyond the standard New York style cheesecake, I have made Oreo, Pumpkin, Lemon and Caramel Apple cheesecakes as well.
But it wasn’t until I made this recipe that he totally fell in love with cheesecake! And who can blame him since it is filled with two of his favorite ingredients: peanut butter and chocolate.
Instant Pot Peanut Butter Cheesecake Recipe
Every cheesecake starts with choosing the baking pan. You can use either a springform pan or a push pan.
I prefer to use a 7.5 inch Springform Pan that will fit easily inside my 6 quart or 8 quart Instant Pot.
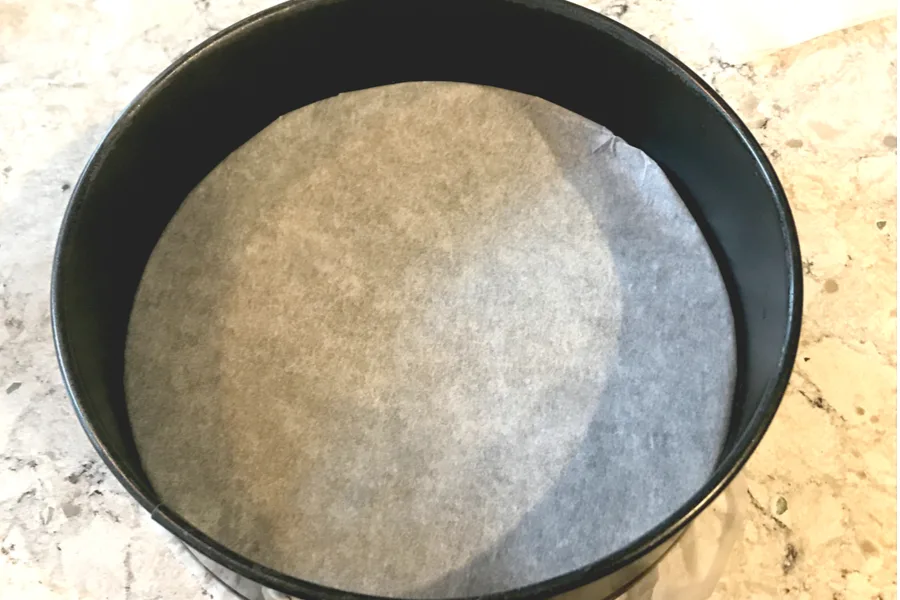
Once you have your pan, the next step is to make the crust. Instead of using the standard graham cracker crust that most cheesecakes are made with, we use peanut butter cookies for this recipe.
And not just any peanut butter cookie. We used Nutter Butters! The cookies are a little larger than standard size cookies, so we only needed 10 to make the crust. And that meant the rest of the package was available for a quick sweet treat later in the week.
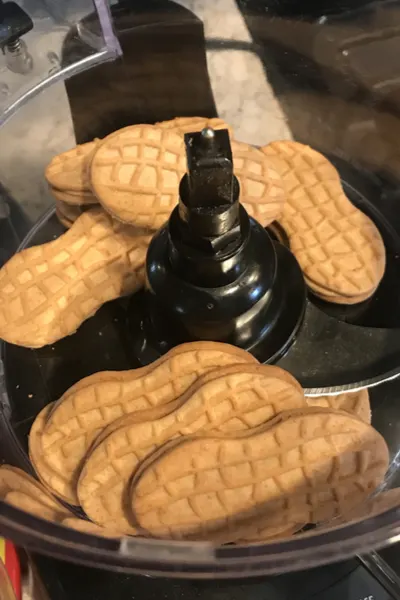
Crush the cookies until they become fine crumbs. We used our Hamilton Beach Food processor, but you can use a rolling pin as well. Then mix the cookies with the melted butter and press them in the greased pan to make the crust.
Now place the pan in the refrigerator or freezer while you make the peanut butter cheesecake filling.
The Filling
If you have ever made a cheesecake before, you will know that the key to getting a smooth filling is to start with room temperature cream cheese.
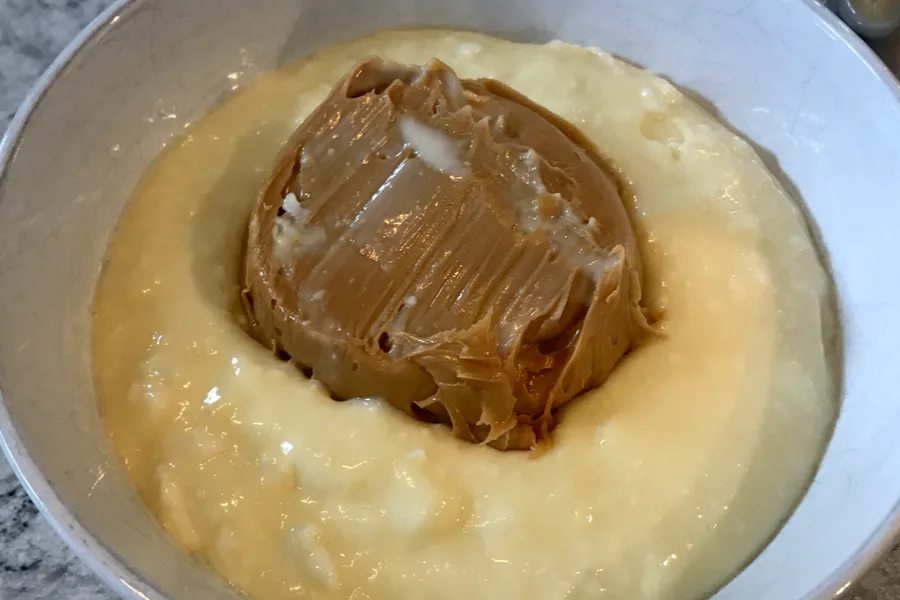
If you use cold or chilled cream cheese you will have clumps throughout your cheesecake.
In a mixing bowl mix the cream cheese until smooth and then add the sugar. Continue to mix until incorporated.
Now add the eggs, one at a time, just until they are blended into the mixture. It is vital here that you DON’T OVER MIX!!! Otherwise you have scrambled your eggs and your Peanut Butter Cheesecake will come out very uneven.
Once you have the filling prepared, remove 1 1/2 cups of the mixture into another bowl. Then add creamy peanut butter to the mixture that you just removed and fold to combine.
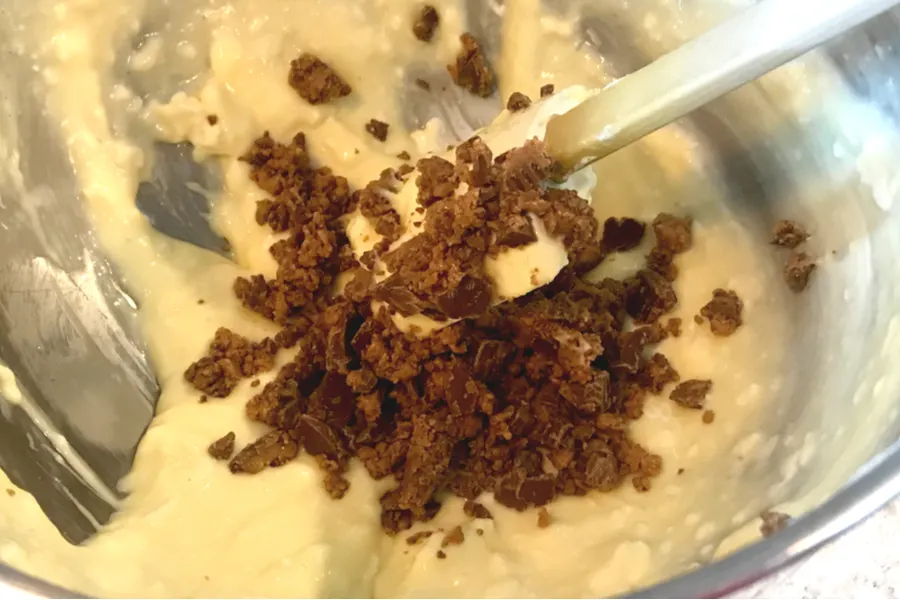
Add chopped peanut butter cups to the filling in the original mixing bowl and combine.
Now it is time to assemble the cheesecake!
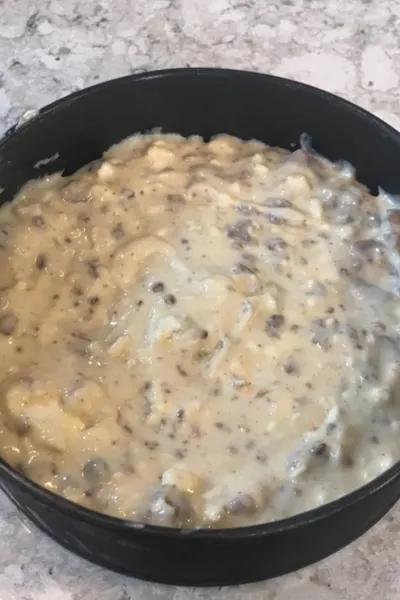
First add the layer of the filling and chopped peanut butter cups on top of the crust and smooth. Then add the filling with the creamy peanut butter on top and smooth to an even layer.
Cover the top of the springform pan loosely with aluminum foil.
Cooking Instructions
Now it is time to get your Peanut Butter Cheesecake in the Instant Pot!
If you have a silicone sling/trivet this is a great time to use it to lower the cheesecake inside the pot.
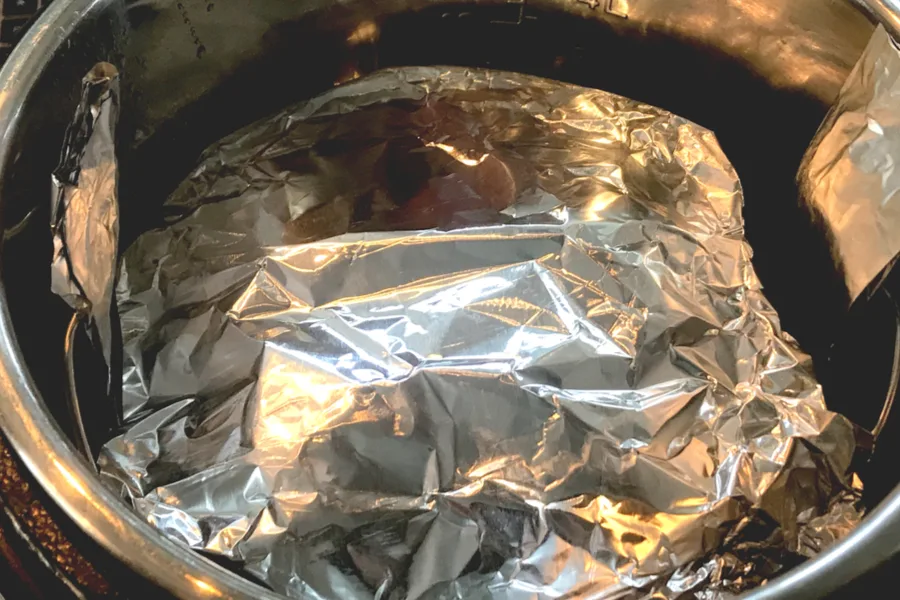
However, if you don’t no worries! Make a large aluminum sling by folding a piece of foil in thirds. Then place the springform pan on the center and pull the handles up on each side.
Place the trivet that came with your Instant Pot in the liner, along with one cup of water. Lower the cheesecake down onto the trivet using the handles.
Lock the lid in place and pressure cook on HIGH for 24 minutes. Once the cooking time is up, allow for 10 minutes of Natural Pressure Release.
Then release any remaining pressure and carefully remove the Peanut Butter Cheesecake out of the Instant Pot.
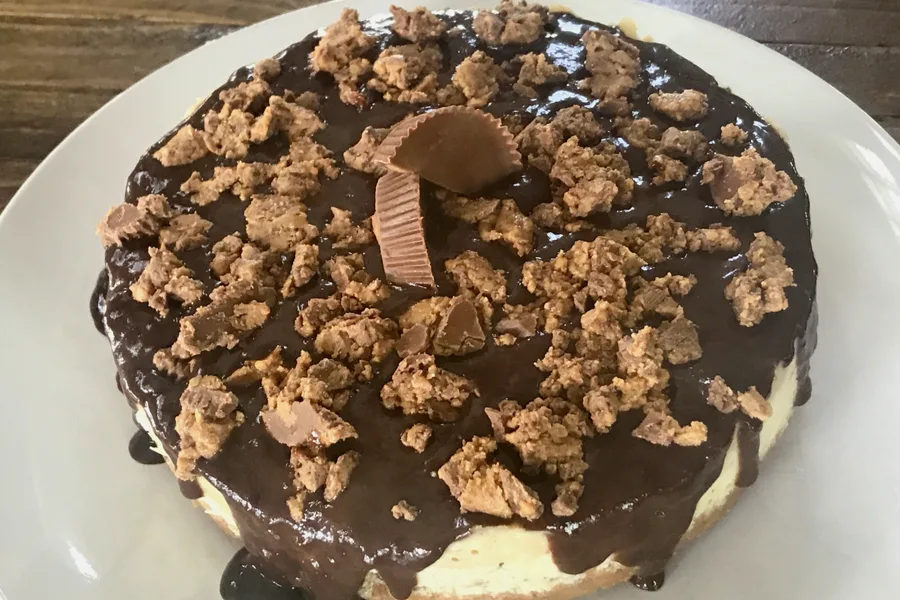
Immediately remove the foil and use a paper towel to dab any water sitting on top of the cheesecake. Allow it to rest on the counter until cool enough to refrigerate.
Cover and refrigerate for at least 8 hours. I know it is hard, but it will be well worth it in the end, I promise!
Now it is time to top your cheesecake with a chocolate ganache icing and more peanut butter cups!
I told you this is a game changing cheesecake recipe!!!
Serve immediately or refrigerate until it is time for dessert. Enjoy!

To receive our 3 Recipe Articles in your inbox each week, sign up for our free email list located in the middle of each recipe or email me at contact@makeyourmeals.com. You can also follow us on Facebook and Pinterest. This article may contain affiliate links where a small commission is paid if you purchase a product at no additional cost to you.
Instant Pot Peanut Butter Cheesecake Recipe
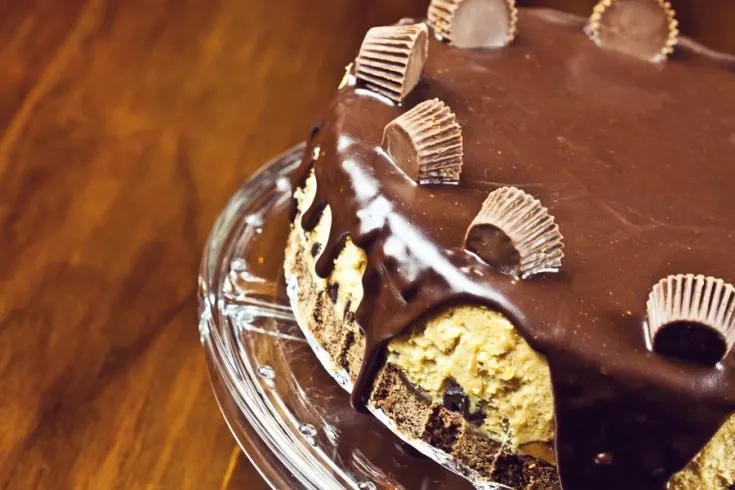
Rich and creamy peanut butter flavored cheesecake on a peanut butter cookie crust and then topped with a chocolate ganache icing and peanut butter cups.
Ingredients
- 10 Nutter-Butter cookies, crushed into crumbs
- 3 TBS butter, melted
Cheesecake Filling
- 16 ounces cream cheese, softened
- 2/3 cups granulated sugar
- 2 large eggs, room temperature
- 1/3 cup creamy peanut butter
- 6 peanut butter cups, chopped
Topping:
- 1/2 cup heavy whipping cream
- 4 ounces semi-sweet chocolate, chopped
- 6 peanut butter cups, chopped
Instructions
Crust
- Grease springform pan. Mix crushed cookies and melted butter together and pour into springform pan. Using the bottom of a measuring cup, press firmly on the bottom and a little bit up the sides. Refrigerate.
Cheesecake Filling:
- In a large bowl, add softened cream cheese and beat using a hand or stand mixer until the cream cheese is smooth and has no clumps. Add sugar and beat until incorporated. Add eggs, one at a time, beating only until each one is incorporated. Do NOT over mix.
- Remove 1 1/2 cups of the cream cheese mixture and place it in another bowl. Add 1/3 cup creamy peanut butter to the cream cheese mixture that you just removed and use a fork to stir until combined. Set aside.
- Add chopped peanut butter cups into the original cheesecake filling bowl (the one without the peanut butter) and fold to combine.
- Remove the crust from the fridge and pour the cream cheese filling with the chopped peanut butter cups onto the crust. Next add the peanut butter cream cheese filling over the top and carefully spread out to the edges of the pan. Cover loosely with aluminum foil.
Pressure Cooking
- Add 1 cup of water to the bottom of the instant pot and place the trivet in the water. Using a silicone lifter or a sling made out of aluminum foil, carefully lower the cheesecake so that it sits on the trivet. Close the lid and make sure the valve is sealed. Pressure Cook/Manual on HIGH for 24 minutes.
- Once the cook time is up, let the pressure naturally release for 10 minutes. Release any remaining pressure and remove the top.
- Carefully lift the cheesecake out of the Instant Pot. Remove the foil and use a paper towel to carefully damp any water off the top of the cheesecake.
- Refrigerate the cheesecake for at least 8 hours.
Topping
- In a small saucepan over medium heat add the heavy whipping cream. Bring it to a boil, whisking occasionally. Once boiling, remove from heat.
- Add chocolate to the heated heavy whipping cream and let it for 5 minutes, then whisk to combine. Whisk until completely smooth. Let cool 10 minutes.
- Pour the chocolate topping onto the center of the cake. Spread over the top, letting the chocolate run down the sides. Add chopped peanut butter cups on top of the chocolate.
- Refrigerate any leftovers.
Notes
Recipe provided by Make Your Meals
Nutrition Information:
Yield:
8Serving Size:
1 gramsAmount Per Serving: Unsaturated Fat: 0g
