If you are looking for a dessert to serve that doesn’t require utensils this Cherry Hand Pies Recipe is your answer. Warm cherry pie filling wrapped in a flaky crust and baked until golden brown.
Then, to make it even better, the hand pies are drizzled with a sweet glaze. One bite into the hand pie and you will be taken back in time.
We can all remember the days when we would go to the convenience store and a variety of hand pies would be displayed on the end cap of an aisle. Whether you chose apple, cherry, blueberry or lemon, you knew you were in for a special treat.
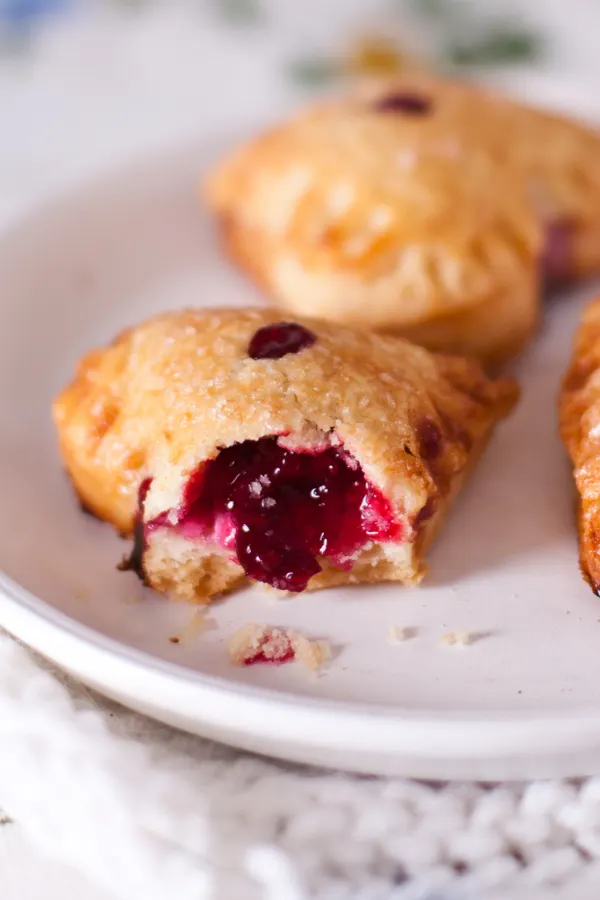
And now, with just 5 ingredients, this dessert can easily be made in your own kitchen. Best of all, they will be ready to eat in under 30 minutes.
If you want to get creative, you can fill the hand pies with any type of pie filling that you prefer. The most common substitution is apple pie filling.
However, you could also use choose to fill the hand pies with blueberry or even strawberry pie filling. Or make it interesting and chose a couple different ones so you won’t know what you are getting until you take a bite.
An Easy Make Ahead Recipe
Another advantage of making cherry hand pies is that this dessert can be served warm or cold. Therefore, it is a great dessert to serve at parties or backyard cookouts.
You can even make them weeks ahead and keep them in the freezer until you are ready to serve them. Then simply pull them out of the freezer a few hours ahead of time to allow them enough time to thaw.
It is also a great idea to keep enough in your freezer for those unexpected get togethers. Then pop them in the microwave to thaw and you have individual desserts that can be enjoyed by all.
Shortcut Cherry Hand Pies vs. Homemade
This recipe uses store bought pie crust and cherry pie filling so that this recipe is made in minutes. However, if you prefer you can make your own pie crust and pie filling if you prefer.
The baking instructions will remain the same.
Make A Few or Several
Because you are making individual hand pies you can easily adjust this recipe to make as many as you need. As a guideline, one refrigerator pie crust will make approximately 5 hand pies.
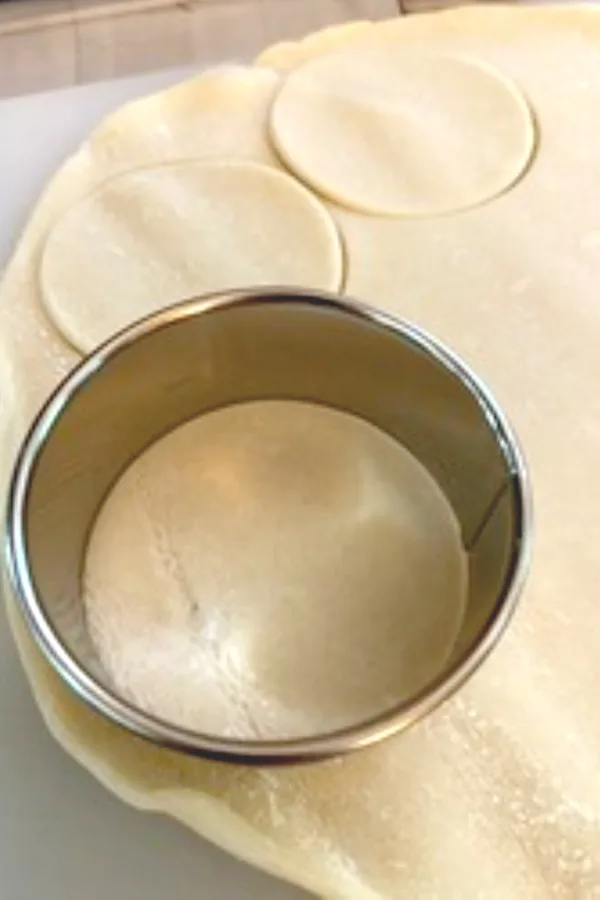
However, I should clarify, that is the yield if you use the recommended 4 inch circle cutter. This is the perfect size to make half moon shape hand pies.
Although, you could also make rectangular hand pies if you don’t have a circle cutter. Simply cut the pie crust dough into a long rectangle.
Then place the filling on one side and fold the other side over. Crimp to seal the edges and bake as instructed.
Cherry Hand Pies Recipe
*Specific measurements and complete recipe instructions are located in a printable recipe card at the bottom of this article. However, be sure to continue to read the tips and tricks to making this recipe below.
INGREDIENTS
- 1 box (14.1 oz each) refrigerated pie crust
- 10 oz. cherry pie filling
- 1 ¼ cups confectioner’s sugar
- 2 Tbsp. milk
- 1 egg white, beaten
INSTRUCTIONS
The first step in making cherry hand pies is to preheat the oven to 425°F (220°C). Then remove the refrigerator pie crusts from the cardboard package and plastic wrap, but leaving it in a roll.
Let it sit at room temperature while you prepare the cherry filling. Open the can of cherry filling and pour it into a shallow bowl. Cut the cherries in half or small diced size pieces. Set aside.
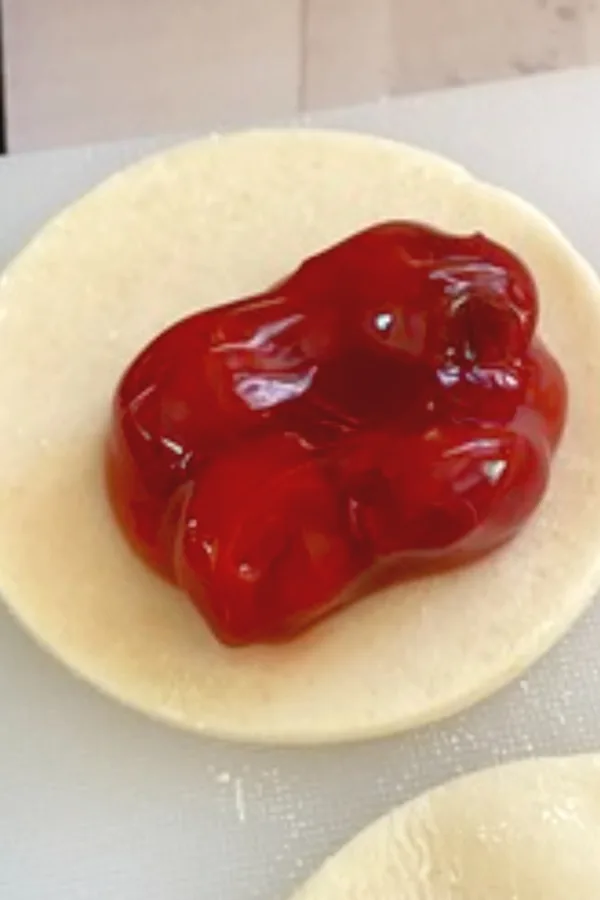
You can leave the cherries whole, however, you will only be able to fit a few whole cherries in each hand pie. But the choice is up to you.
Next, unroll the room temperature pie crusts. Use a 4 inch biscuit cutter and cut 5-6 circles from each pie crust, re-rolling the dough as necessary.
Use a small, 1 tablespoon cookie scoop to place the cherry pie filling onto the center of each pie crust circle. Fold each circle in half.
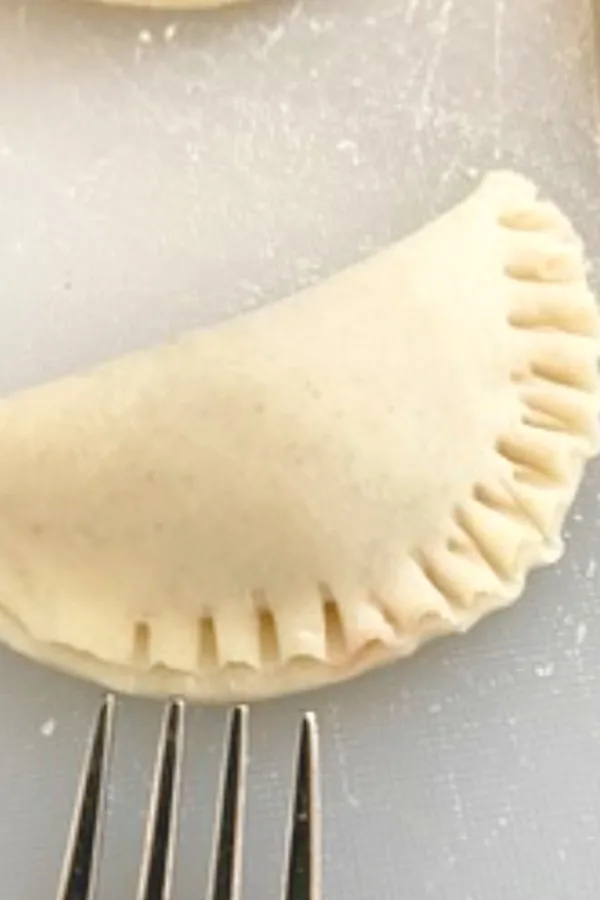
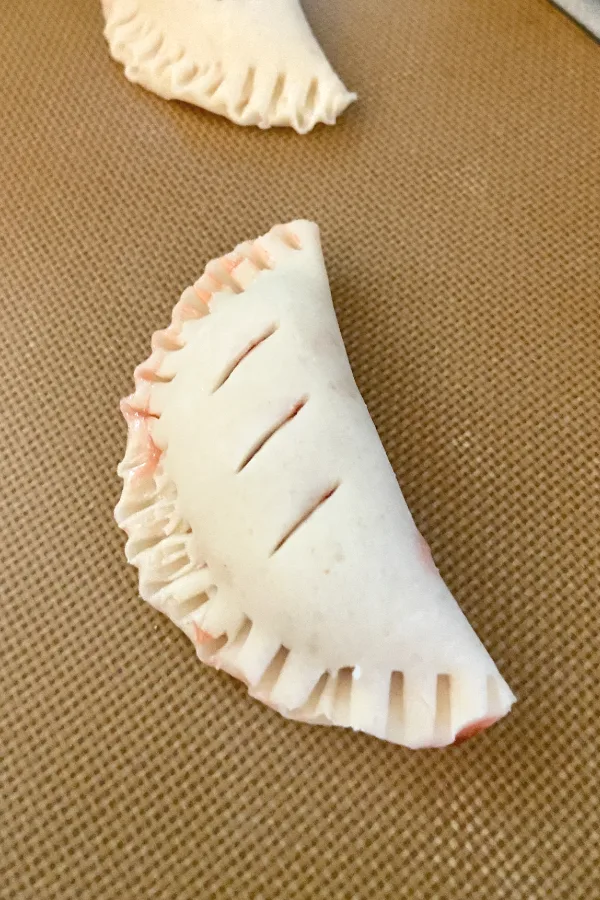
Use a wet finger to seal the edges and then crimp the edges completely with a fork to seal. Poke the center of the hand pie one time with a fork or make a small slice in the dough to allow the pie to vent while being baked.
Place the prepared hand pies on a parchment paper, or silicone lined baking sheet. Set aside.
For A Golden Shine
If you want the cherry hand pies to have a nice golden shine to them brush the tops with egg white. Start by beating the egg white in a small bowl until foamy and frothy.
Then use a pastry brush to brush the tops of each hand pie. Place the baking sheet in the preheated oven and bake for 15 minutes, or until the outer surface is golden brown.
If you prefer to use your air fryer, use the same time and temperature for this Air Fryer Apple Pie Hand Pies.
Make The Glaze (optional)
Although adding a glaze to the hand pies is optional, it is highly recommended. The sweet glaze is easy to make and adds another level of sweetness to the hand held dessert.
While the hand pies are in the oven make the glaze by whisking together the confectioner’s sugar and milk until smooth. Set aside.
Once the cherry hand pies are cooked and golden brown, remove the baking sheet from the oven. While the pies are still warm, working with one pie at a time, drop into the glaze, coating all sides.
Or if you want a little less mess, drizzle the glaze over top. Then carefully place the pie back on the parchment or silicone lined baking sheet.
Allow the glaze to set, which will take about 5-10 minutes before serving.
Store in an air tight container at room temperature for up to 3 days. Or if you want them to last longer, you can store them in the refrigerator for up to a week.
As mentioned above, you can also freeze cherry hand pies for 3 months (if they last that long)!
Enjoy! Mary

To receive our 3 Recipe Articles in your inbox each week, sign up for our free email list located in the middle of each recipe or email me at contact@makeyourmeals.com. You can also follow us on Facebook and Pinterest. This article may contain affiliate links where a small commission is paid if you purchase a product at no additional cost to you.
Baked Cherry Hand Pies
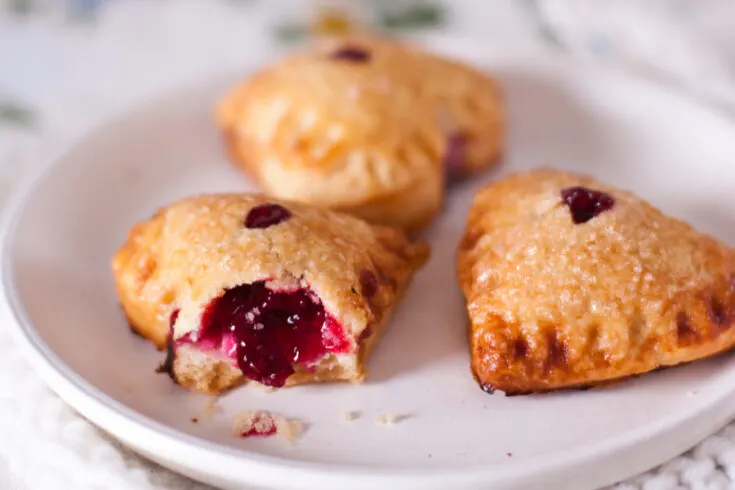
Warm cherry pie filling wrapped in a flaky crust and baked until golden brown. The perfect hand held dessert recipe.
Ingredients
- 1 box (14.1 oz each) refrigerated pie crust
- 10 oz. cherry pie filling
- 1 ¼ cups confectioner's sugar
- 2 Tbsp. milk
- 1 egg white, beaten
Instructions
- Preheat oven to 425°F. Remove pie crusts from the cardboard package and plastic wrap, but leaving it in a roll. Let it sit at room temperature while you prepare cherry pie filling.
- Open the can of cherry pie filling and pour it into a shallow bowl. Cut the cherries into small, diced size pieces. Set aside.
- Unroll the room temperature pie crusts. Use a 4 inch biscuit cutter and cut 6 circles from each pie crust, re-rolling the dough as necessary.
- Use a small, 1 tablespoon cookie scoop to place the cherry pie filling onto the center of each pie crust circle. Fold each circle in half. Use a wet finger to seal the edges and then pinch the edges completely with a fork to seal. Poke the center of the hand pie one time with a fork to prevent exploding while being baked. Place the prepared hand pies on a parchment paper, or silicone lined baking sheet. Set aside.
- Beat the egg white in a small bowl until foamy and frothy. Use a pastry brush to brush the tops of each hand pie.
- Place the baking sheet in the preheated oven and bake for 15 minutes, or until the surface is golden brown.
- While the hand pies are in the oven make the glaze by whisking together the confectioner's sugar and milk until smooth. Set aside.
- Once the cherry hand pies are cooked and golden brown, remove the baking sheet from the oven. While the pies are still warm, working with one pie at a time, drop into the glaze, coating all sides. Carefully remove the pie from the glaze and place back on the parchment or silicone lined baking sheet.
- Allow the glaze to set, which will take about 5-10 minutes before serving.
Notes
Recipe provided by Make Your Meals
Nutrition Information:
Yield:
12Serving Size:
1Amount Per Serving: Calories: 249Total Fat: 9gSaturated Fat: 3gTrans Fat: 0gUnsaturated Fat: 5gCholesterol: 0mgSodium: 148mgCarbohydrates: 41gFiber: 1gSugar: 25gProtein: 2g
Nutritional Information is to be used as a general guideline only . Nutritional calculations will vary from the types and brands of the products used.
