No Thanksgiving would be complete without a bowl of turkey gravy on the table, but did you know that you don’t have to have turkey drippings to make gravy? Although most gravy recipes include the drippings from the bottom of the roasting pan as the main ingredient, it isn’t absolutely necessary.
In fact, you can still make delicious gravy to pour on your turkey, mashed potatoes and dressing using just a few simple ingredients. By combining butter, flour, broth and a few spices your gravy will be made and ready to share with family and friends.
While turkey drippings are traditionally used to make gravy, there are many situations where you may not have them on hand. Perhaps you’re roasting a turkey breast instead of a whole bird.
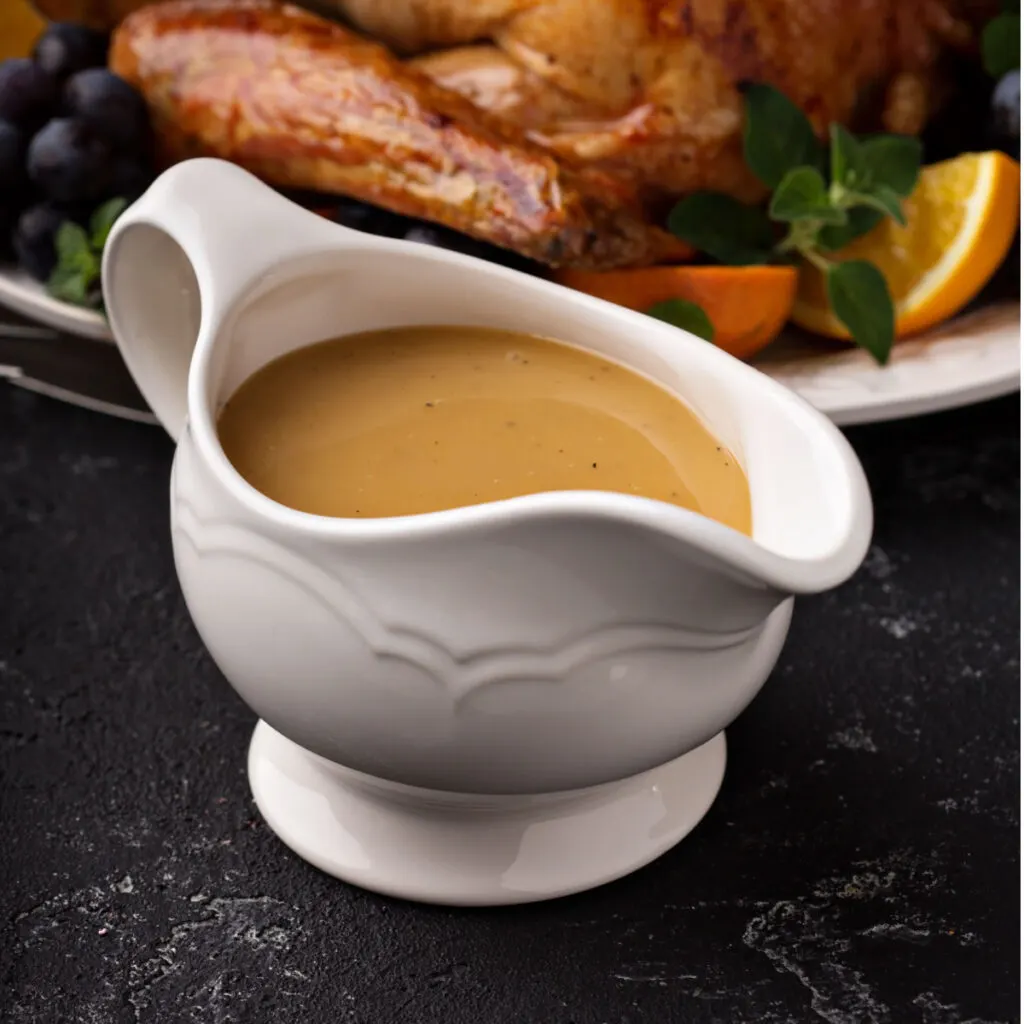
Or perhaps you are deep frying or smoking a turkey this year. Whatever the reason, don’t worry, you can still create delicious and flavorful turkey gravy without the need for turkey drippings.
What You Will Need To Make Turkey Gravy:
Before making the gravy, be sure that you have everything that you need handy as this recipe comes together very quickly. Below I have listed both the ingredients and equipment that you will need to make turkey gravy without turkey drippings.
- A medium saucepan with a heavy bottom
- Whisk
- Measuring cups and spoons
- Butter
- All-purpose flour
- Turkey broth or chicken broth
- Salt
- Black pepper
- Dried thyme
- Dried parsley
Steps To Make Turkey Gravy Without Drippings
Step 1: Make The Roux
The foundation of any great gravy lies in the roux. It is a simple mixture of cooked flour and some sort of fat (in this case we will use butter) that provides not only the thickening element but also that classic silky texture to the gravy.
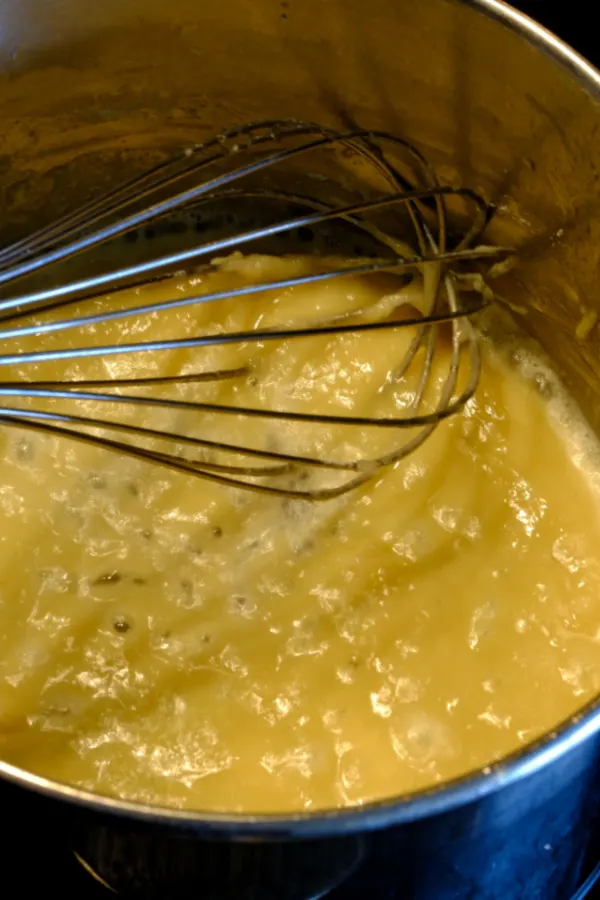
To begin, melt the butter in the saucepan over medium heat. Once the butter has melted and is bubbling gradually whisk in the flour.
Continue whisking the roux for about 1 minute, or until it turns a light golden brown color. This cooking step is crucial, as it allows the flavor of the flour to deteriorate and develops the roux’s nutty flavor.
However this step is also important to ensure a smooth, lump-free gravy.
Step 2: Stir In The Broth
With your roux prepared, it’s time to add the liquid that will transform the thick mixture it into smooth and pourable gravy. Here you can choose from turkey broth or chicken broth.
However, make sure that the broth is cold and not warm. Adding warm broth to a warm roux can lead to lumps in the gravy.
Start by slowly pouring the broth in the pan, whisking constantly. By constantly stirring the mixture you will prevent clumps from forming.
As you add the broth, you’ll notice the roux gradually thinning out. Continue whisking until the mixture reaches a consistency that resembles thin gravy.
Step 3: Let the Turkey Gravy Simmer
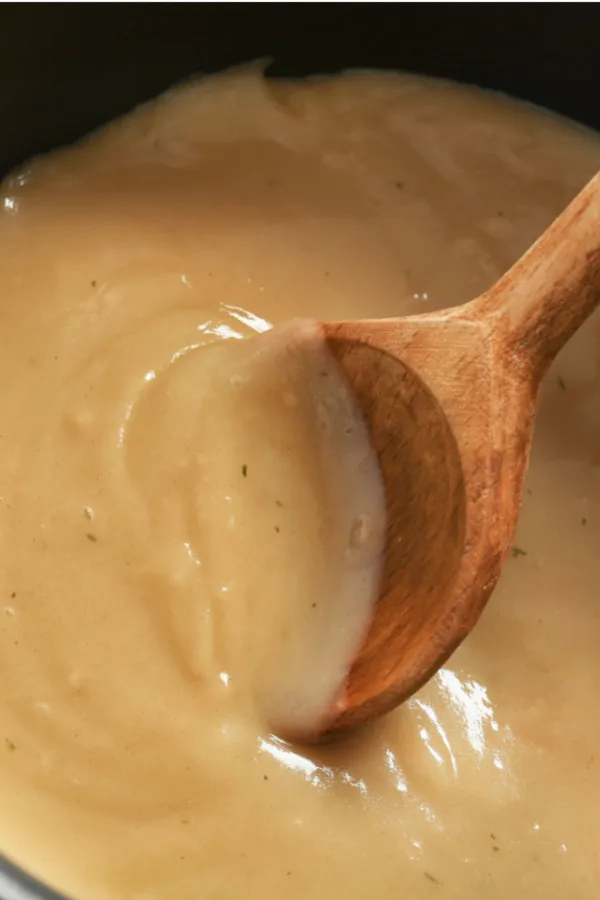
Once the gravy has reached the desired consistency, bring it to a simmer over medium heat. Allow the gravy to simmer for about 10-15 minutes, stirring occasionally to prevent the gravy from sticking to the bottom of the pan.
This simmering period allows the flavors to meld and thicken, resulting in a rich gravy that will be perfect for pouring over your mashed potatoes and turkey.
Step 4: Season The Gravy
As the gravy simmers, it’s time to add the seasoning. Start by adding salt and black pepper to taste. If you didn’t use low-sodium broth be sure to add minimal salt at first. Then continue to taste to ensure the gravy doesn’t become too salty.
Next, stir in the dried thyme and dried parsley. Both seasonings will which will add that classic earthy taste that we all love in gravy.
Step 5: Serve
Once the gravy has simmered and the seasonings have been added it’s ready to be served.
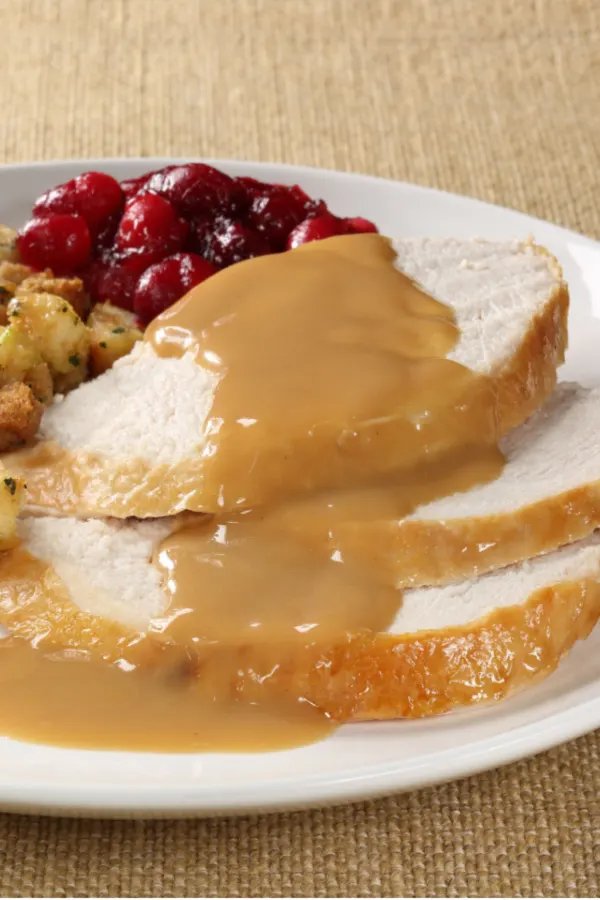
Ladle the gravy into a turkey boat and place it on the table. Then pour it generously over your roasted turkey, mashed potatoes, stuffing, and any other Thanksgiving favorites.
Recipe Variations
While the basic recipe provides a solid foundation for making turkey gravy without turkey drippings, there are various possibilities to adapt the recipe for your own personal preference. Below I have listed some common gravy variations.
Vegetarian Gravy: For a vegetarian gravy, simply substitute vegetable broth for the turkey or chicken broth.
Gluten-Free Gravy: To create a gluten-free gravy, replace the all-purpose flour with a 1:1 gluten free flour or cornstarch.
Sausage Gravy: For a heartier gravy, cook ½ pound of ground sausage in the saucepan before adding the butter and flour. Just be sure to drain off the grease before proceeding with the recipe.
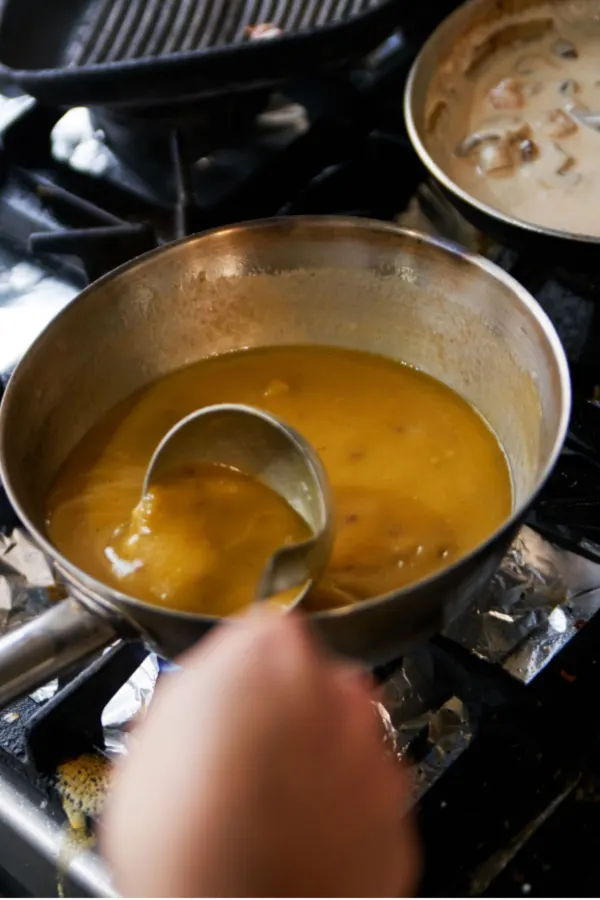
Mushroom Gravy: Add chopped mushrooms to the saucepan before whisking in the flour for a rich, earthy flavor.
Red Wine Gravy: Replace ½ cup of the broth with red wine. This will give the gravy another depth of unexpected flavor that your family and friends will love.
Helpful Tips For Making Turkey Gravy
- Make sure to use a heavy-bottomed saucepan to prevent the gravy from scorching to the bottom of the pan.
- Make gravy over medium heat. Anything higher and you risk the gravy having a burnt taste.
- Whisk the gravy constantly to prevent it from clumping.
- If the gravy is too thick, add more broth. If the gravy is too thin, cook it for longer.
- Taste the gravy before serving and adjust the seasonings as needed.
Make Ahead Option
We all know that the day of the holiday can be hectic. And because there is no need for turkey drippings, why not make the turkey gravy a day or two in advance?
In fact, gravy can be made and then stored in the refrigerator for up to 3 days. Before serving, reheat the gravy over medium heat, adding more broth if the gravy is too thick once heated.
Turkey Gravy Without Turkey Drippings Recipe
*Specific measurements and complete recipe instructions are located in a printable recipe card at the bottom of this article. However, be sure to continue to read the tips and tricks to making this recipe below.
INGREDIENTS:
- 1/4 cup unsalted butter
- 1/4 cup all-purpose flour
- 4 cups turkey broth or chicken broth
- 1/2 teaspoon salt, more or less to taste
- 1/4 teaspoon black pepper, more or less to taste
- 1/4 teaspoon dried thyme
- 1/4 teaspoon dried parsley
INSTRUCTIONS:
1. Melt the butter in a saucepan over medium heat.
2. Whisk in the flour and cook for 1 minute, or until the mixture is lightly browned.
3. Slowly whisk in the cold broth, making sure to scrape up any browned bits from the bottom of the pan.
4. Bring to a boil, then reduce heat and simmer for 10-15 minutes, or until the gravy has thickened to your liking.
5. While the gravy is simmering season with salt, pepper, thyme, and parsley.
Serve hot over turkey, mashed potatoes, or stuffing.
Storing and Reheating Gravy:
- Cover and store in the refrigerator for up to 3 days.
- To reheat gravy, place it in a saucepan over medium heat and stir until heated through, adding more broth if it is too thick once reheated.
Enjoy! Mary

To receive our 3 Recipe Articles in your inbox each week, sign up for our free email list located in the middle of each recipe or email me at contact@makeyourmeals.com. You can also follow us on Facebook and Pinterest. This article may contain affiliate links where a small commission is paid if you purchase a product at no additional cost to you.
Turkey Gravy Recipe Without Turkey Drippings
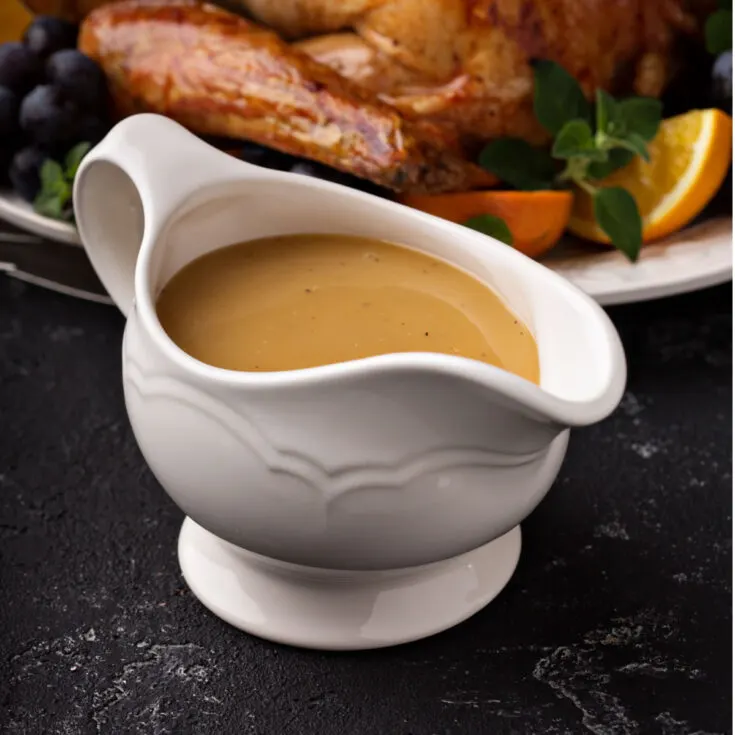
How to make thick and silky turkey gravy without turkey drippings. Make it up to 3 days in advance.
Ingredients
- 1/4 cup unsalted butter
- 1/4 cup all-purpose flour
- 4 cups turkey broth or chicken broth
- 1/2 teaspoon salt, more or less to taste
- 1/4 teaspoon black pepper, more or less to taste
- 1/4 teaspoon dried thyme
- 1/4 teaspoon dried parsley
Instructions
- Melt the butter in a saucepan over medium heat.
- Whisk in the flour and cook for 1 minute, or until the mixture is lightly browned.
- Slowly whisk in the cold broth, making sure to scrape up any browned bits from the bottom of the pan.
- Bring to a boil, then reduce heat and simmer for 10-15 minutes, or until the gravy has thickened to your liking.
- While the gravy is simmering season with salt, pepper, thyme, and parsley.
Notes
Storing and Reheating Gravy:
- Cover and store in the refrigerator for up to 3 days.
- To reheat gravy, place it in a saucepan over medium heat and stir until heated through, adding more broth if it is too thick once reheated.
Recipe provided by Make Your Meals
Nutrition Information:
Yield:
12Amount Per Serving: Calories: 50Total Fat: 4gSaturated Fat: 2gTrans Fat: 0gUnsaturated Fat: 1gCholesterol: 12mgSodium: 474mgCarbohydrates: 3gFiber: 0gSugar: 0gProtein: 1g
Nutritional Information is to be used as a general guideline only . Nutritional calculations will vary from the types and brands of the products used.
