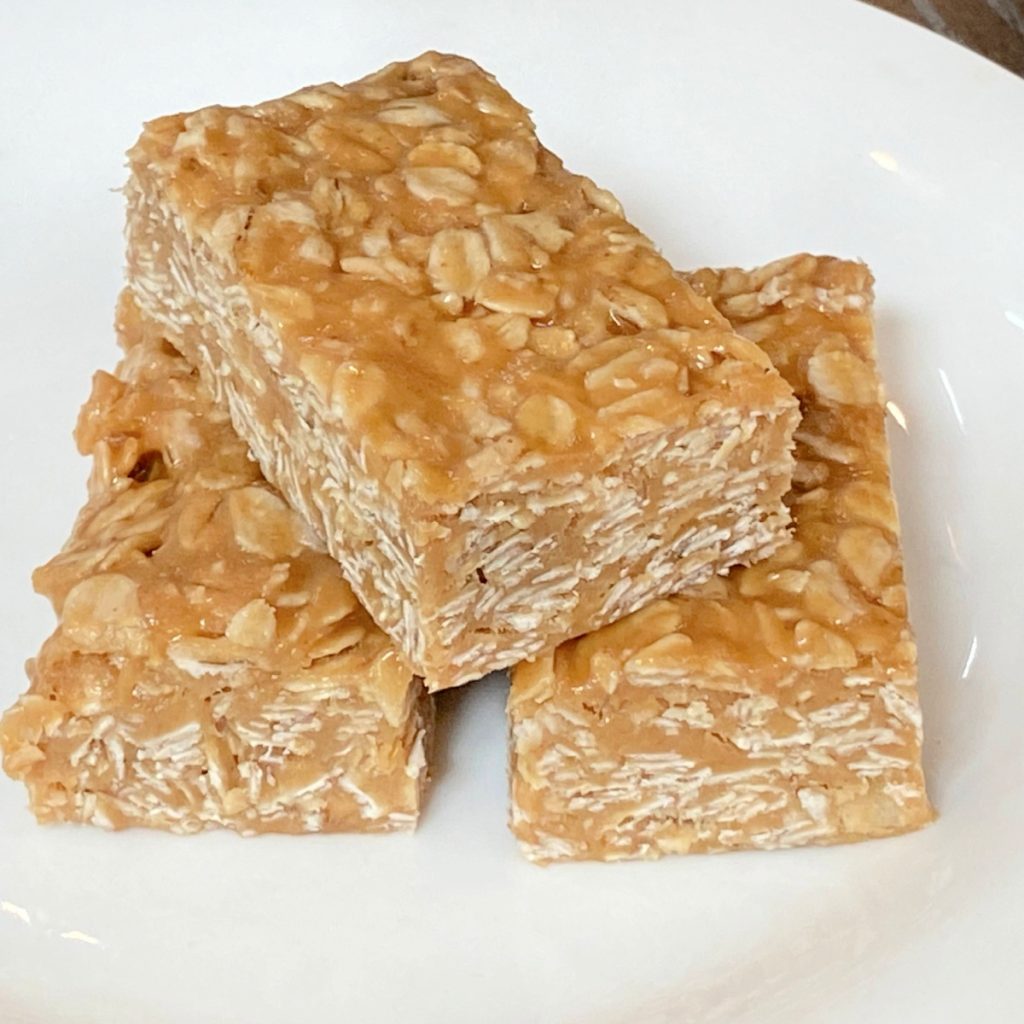
These No Bake Peanut Butter Bars are one of the easiest treats you can make. They come together in just 5 minutes with only 5 simple pantry ingredients. Creamy peanut butter is combined with old-fashioned oats, honey, vanilla extract, and a pinch of salt to create a delicious mixture that is both wholesome and satisfying.
After mixing, simply press the mixture into a baking dish and place it in the refrigerator to chill. As it rests, the bars firm up perfectly, making them easy to slice into individual servings that are ready whenever you need a quick bite.
One of the reasons I love this recipe so much is its versatility. Need a quick breakfast on a busy morning? Grab a bar and head out the door. Looking for a healthy mid-morning pick-me-up or an after-school snack? These bars fit the bill perfectly. They also pack well in lunch boxes when peanut products are permitted.

But don’t limit these no bake peanut butter bars to breakfast and snack time. They make a fantastic dessert too. In fact, I often keep a batch in the refrigerator during the summer months.
After a dinner cooked on the grill, there is nothing better than pulling out a few chilled bars for a cool and satisfying sweet treat. Best of all, they’re easy to serve, require no utensils, and are always a hit with family and friends.
Equipment Required
Because this recipe requires only a few common ingredients and there is no baking required, there are only a few pieces of kitchen equipment that you need.
- Measuring cup
- Measuring spoon
- 8 x 8 inch baking dish
- Stirring spoon or spatula
- Medium size sauce pan
However, if you have these additional items, the process of making No Bake Peanut Butter Bars will go much easier and faster.
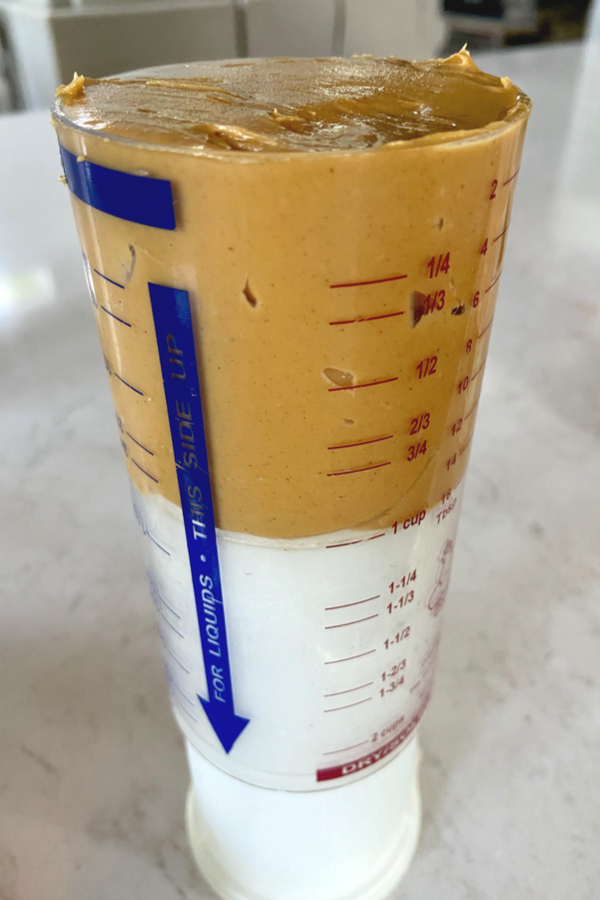
1. Push Measuring Cup
This type of measuring cup is the perfect device when measuring thick ingredients that are hard to get out of a standard measuring cup. I use my push measuring cup any time that peanut butter, mayo, sour cream, yogurt, honey or anything with a thicker consistency needs to be added to a recipe.
Simply fill the cup to the desired amount and push it out using the inner cylinder. Not only do you get the entire amount, clean up is a breeze!

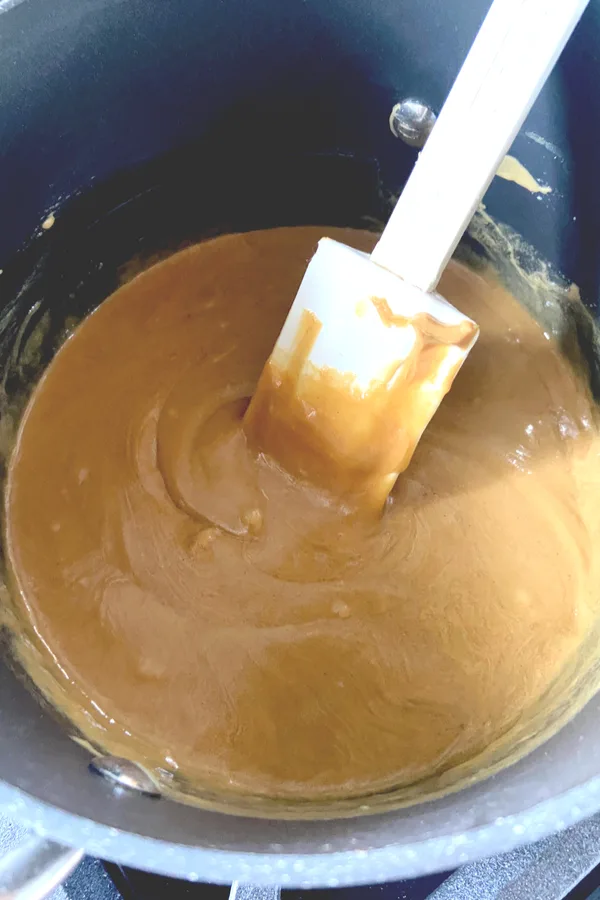
2. Silicone Spatula
Because you will be mixing sticky ingredients together, it is best to use a silicone spatula. Not only are they stiff enough to stir, the peanut butter and honey mixture won’t stick to the surface.
That means no sticky fingers trying to get the ingredients off the spatula. But for me, more importantly, it makes clean up much easier!
3. Parchment Paper
Although you could grease the baking pan before adding the mixture, I find it much easier to line the baking dish with parchment paper instead.
Not only does it save me from scrubbing another dish, it makes cutting the bars super easy. Simply lift the parchment paper out of the dish with the peanut butter mixture still on top of it.
Then place it on a cutting board and cut the bars. It is much easier than trying to cut the bars while still inside the baking dish.

No Bake Peanut Butter Bars Recipe
*Specific measurements and complete recipe instructions are located in a printable recipe card at the bottom of this article. However, be sure to continue to read the tips and tricks to making this recipe below.
INGREDIENTS
- 1 cup creamy peanut butter
- 3/4 cup pure honey
- 3 cups old fashioned oatmeal
- 1 tsp pure vanilla extract
- 1/2 tsp salt
INSTRUCTIONS
The first step in making no bake peanut butter bars is to prepare the baking dish. As mentioned above I prefer to line an 8 × 8 inch baking dish with parchment paper.
However, if you don’t have parchment paper on hand, you can grease the inside of the pan instead. Just be sure to grease both the bottom and sides of the baking dish.
Set the baking dish aside and measure out your ingredients. Then place a medium size saucepan over medium heat.
Add the peanut butter, honey, pure vanilla extract and salt. Stir and heat the mixture until the peanut butter melts and is creamy and well incorporated with the other ingredients.
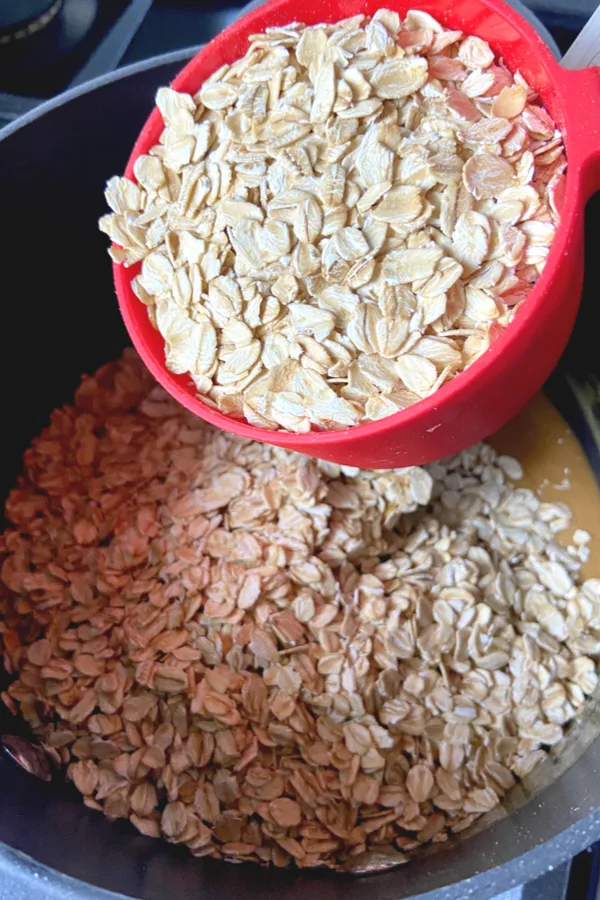
Remove the pan from the heat and add the old fashioned oatmeal to the pan. Use a silicone spatula and stir until the oats are evenly coated.

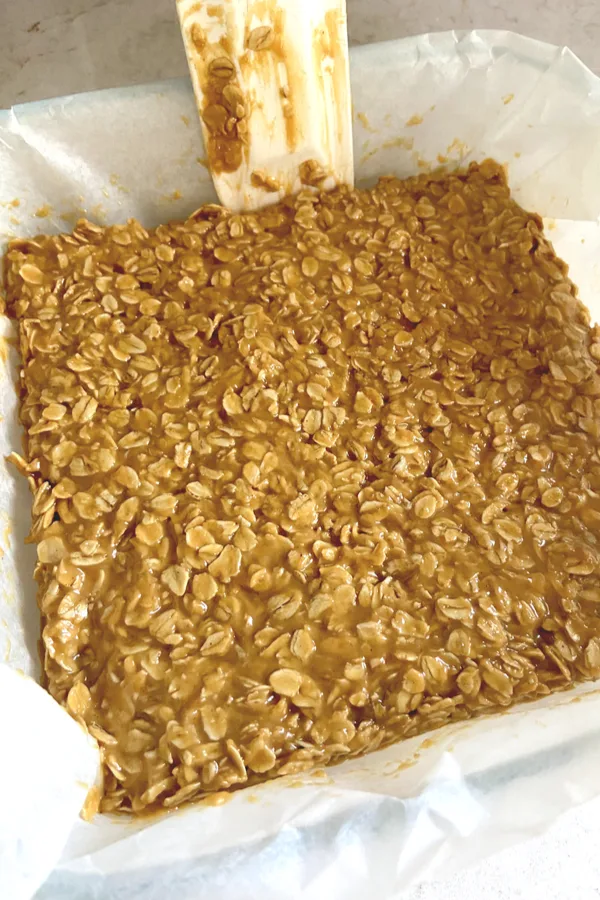
Then transfer the mixture into the prepared baking dish and spread it out evenly. Press the peanut butter oatmeal mixture down so that it compacts together.
Use the end of your spatula to firm up the edges so that they are also pressed tightly together. Do this by pressing on the inside edge of each side of the pan.
Cover & Refrigerate
Cover and refrigerate the no bake peanut butter bars for at least 4 hours or until the mixture is firm. You can also place the pan in the freezer to speed up the process if you prefer.
When the bars are nice and firm, remove the pan from the refrigerator. Lift the parchment paper out of the pan and place it on a large cutting board. Using a sharp knife, cut the bars into 16 squares or into your desired size.
It is best to store the bars in a covered container in the refrigerator. However, if you don’t mind softer bars, you can also store them in a covered container at room temperature.
You can also store them wrapped individually in parchment paper for an easy, breakfast on the go item. Or make them ahead of time and store in the freezer for a quick breakfast, snack or dessert whenever you need one.

Frequently Asked Questions
1. Are old fashioned oats the same as rolled oats?
Depending on the brand of oatmeal that you purchase you will find them labeled as old fashioned oats or rolled oats. Both are the same product.
However, be sure not to purchase steel cut or instant oats. The texture will be different and the no bake peanut butter bars won’t set up correctly.
2. Can I use chunky peanut butter?
Although I prefer the texture of creamy peanut butter, you can use the chunky variety if you prefer. However, the texture of the bars will not be as smooth.
And if you are wanting to use all natural peanut butter, I would suggest that you make Peanut Butter Snack Bites instead. The peanut butter and oatmeal bars turn out better when using standard, store bought peanut butter.
3. Can I add chocolate chips?
There is nothing better than the combination of peanut butter and chocolate. However, if you are wanting to add a little chocolate it is best to use mini chocolate chips or chunks.
Add them in at the same time that you add in the oatmeal. For more tasty peanut butter recipes, be sure to try my 3 Ingredient Peanut Butter Cookies Recipe!
Enjoy! Mary

To receive our 3 Recipe Articles in your inbox each week, sign up for our free email list located in the middle of each recipe or email me at contact@makeyourmeals.com. You can also follow us on Facebook and Pinterest. This article may contain affiliate links where a small commission is paid if you purchase a product at no additional cost to you.
No Bake Peanut Butter Bars

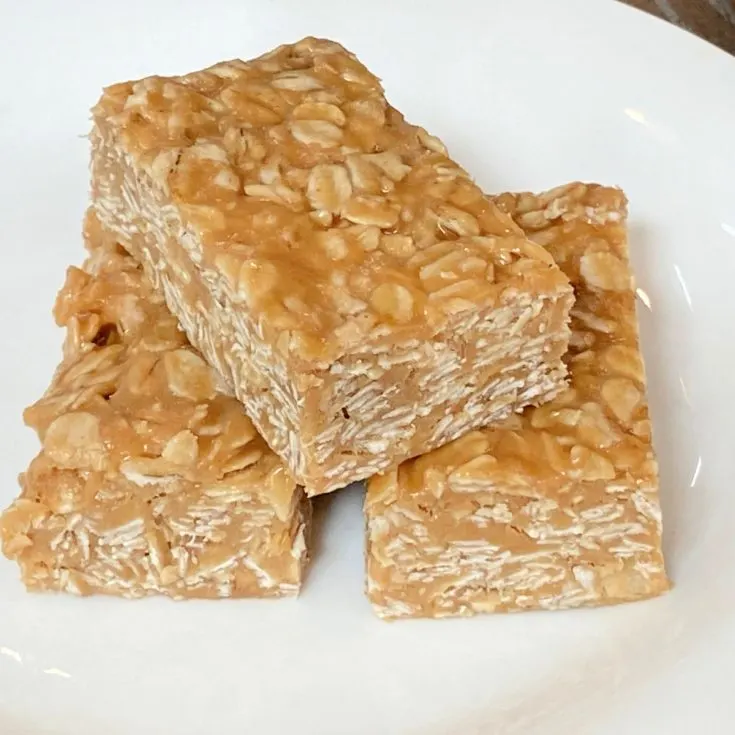
No bake peanut butter bars that take only 5 minutes to prepare and require only 5 ingredients. They make a great snack, on the go breakfast, or serve them for dessert!
Ingredients
- 1 cup creamy Peanut butter
- 3/4 cup pure Honey
- 3 cups Old Fashioned Oatmeal
- 1 tsp pure Vanilla extract
- 1/2 tsp salt
Instructions
- Line an 8×8 baking pan with parchment paper.
- Place a saucepan over medium heat and add the peanut butter, honey, vanilla and salt. Stir and heat until the mixture is creamy and well incorporated.
- Remove the pan from the heat and add the old fashioned oatmeal to the pan. Use a silicone spatula and stir until the oats are evenly coated.
- Transfer the mixture into the prepared baking dish and spread it out evenly. Press the peanut butter oatmeal mixture down so that it compacts together. Use the end of your spatula to firm up the edges by pressing on the inside edge of each side of the pan.
- Cover and refrigerate for at least 4 hours or until the mixture is firm. You can also place the pan in the freezer.
- Pull the parchment paper out of the pan and place on a large cutting board. Using a sharp knife, cut the bars into 16 squares or into your desired size.
*Store in a covered container in the refrigerator.
Notes
- You can store the bars in a covered container at room temperature, however, the bars will be much softer than when stored in the refrigerator.
- For a quick on the go breakfast, wrap individual bars in parchment paper. Bars can also be stored in the freezer for up to 3 months.
Recipe provided by Make Your Meals
Nutrition Information:
Yield:
16Serving Size:
1 barAmount Per Serving: Calories: 175Total Fat: 9gSaturated Fat: 2gTrans Fat: 0gUnsaturated Fat: 6gCholesterol: 0mgSodium: 152mgCarbohydrates: 22gFiber: 2gSugar: 14gProtein: 5g
Nutritional Information is to be used as a general guideline only . Nutritional calculations will vary from the types and brands of the products used.