There is no easier or better way to cook corn on the cob than to grill it! And in the middle of summer, when the sweet corn is fresh it is a relief knowing that you won’t have to heat up the kitchen with a large pot of boiling water.
But the best part about cooking it on the grill is that there is no need to shuck it!
That’s right, you actually put it directly on the grill without having to spend the time to pull off the husk. And it also eliminates the frustration of getting every strand of silk out between the kernels.

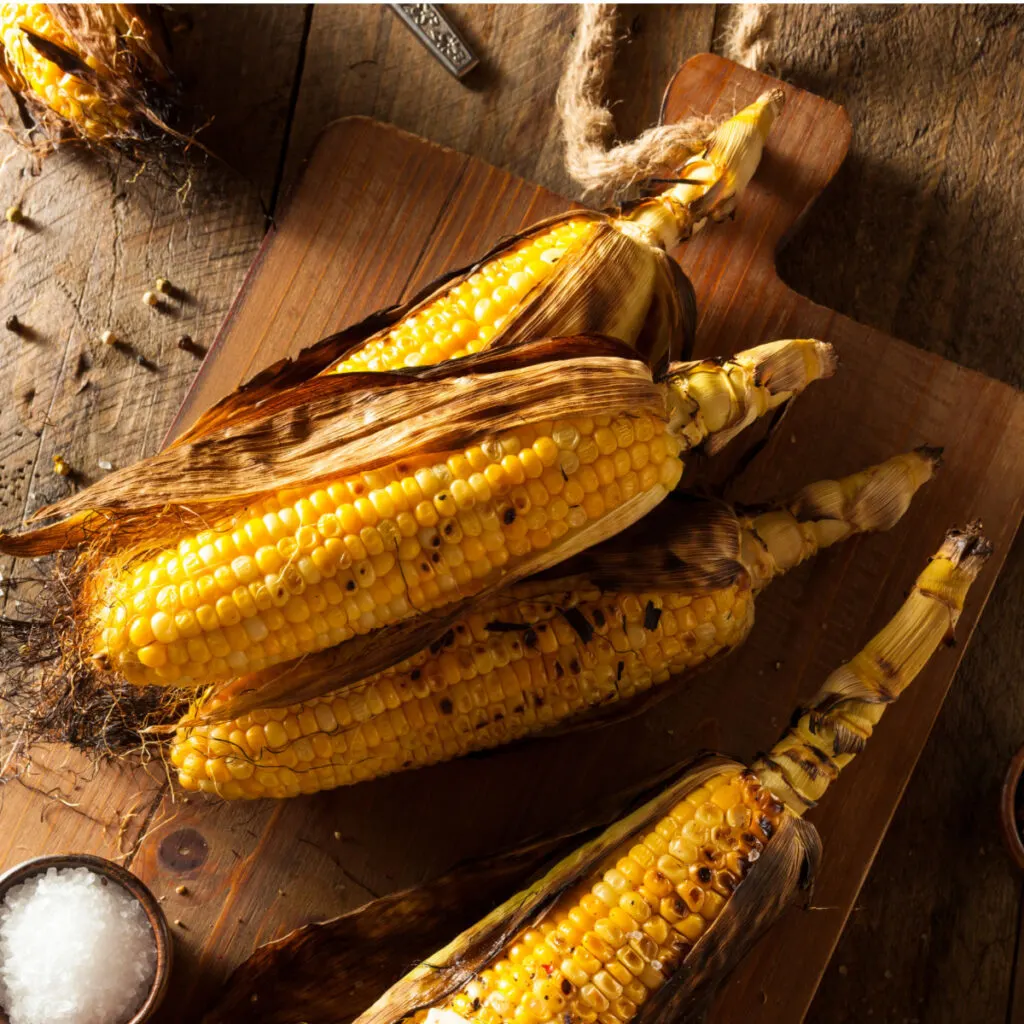
And when the corn is cooked and ready to eat, the husk and silk peels off easily! Then all that is left to do is slather it with butter and sprinkle a little salt on top. Then be ready to sink your teeth into the best corn on the cob that you have ever had.
How To Grill Corn On The Cob
For best results it is always best to purchase fresh picked, local sweet corn. However, I also understand that not everyone lives in an area where sweet corn can grow locally.
Although grocery store corn on the cob is sometimes frozen and thawed when put out on the produce racks, it will still grill up nicely.
However, nothing beats the taste of fresh picked corn! Just make sure that you purchase corn that is still in the husk.
And don’t shuck them at the store! That is because you are going to cook the corn while it is still in the husk.
However, before you get home and cook the corn on the cob on the grill, there are a few key steps to follow. And it involves a little bit of planning.
Prepare The Corn
Start by cutting off any silk that is poking through the top of the corn. It is important to do that so that the little fibers don’t catch on fire during the grilling process.
Then remove a couple outer layers of the each husk. Again, this is because they are typically somewhat loose and can easily catch on fire during the cooking process.
But this is also because corn that may have a thick husk will take longer to cook as well.

As for the stem of the corn, you can choose to keep it completely intact and use it as a handle when eating the corn. Or if it is extra long, you can trim part of it off.
However do not cut the entire stem off. This is the area where the husk is attached and it needs to remain intact when you go to cook your corn on the cob.
Soak The Corn
Now it is time to soak the cobs in cold water. You can use a large bowl or fill your sink with water.
The important thing here is to make sure that the corn is completely under the water. Do this by adding a heavy plate, pan, baking sheet or whatever will fit in your container to weigh them down.
Let the corn soak in the water for about an hour. This step helps prevent the husks from burning completely when being grilled.
But also helps the corn steam when cooking. Which results in nice and tender kernels every time!
Once the soaking time is up, remove the corn and drain off any water that might have entered through the top of the corn.
Grilling Instructions
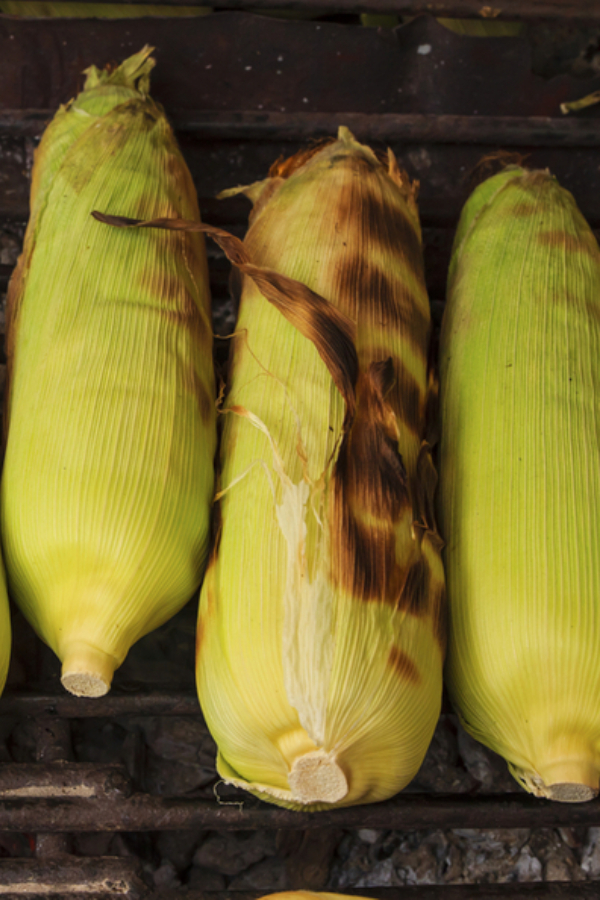
Then place the corn on the cob on a preheated, hot grill set on medium-high heat. Shut the lid and let the magic happen!
Every 3-5 minutes or so, turn the corn using a large pair of grilling tongs. You will notice that the husk that has been sitting on the grill grates beginning to char. This is a good sign!
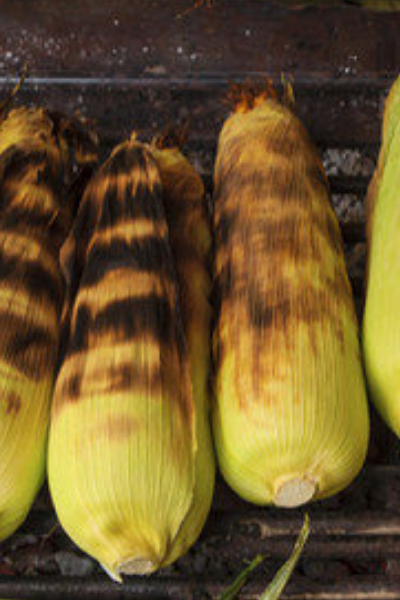
Continue to turn the corn until the entire outer husk has been charred. This should take approximately 20 minutes.

However, if you are wanting to use the bottom of the grill to cook some protein along with your corn it is easy to do. Simply allow the corn to cook for 15 minutes and then place the corn on the top shelf of your grill or over indirect heat.
Then place your protein on the grill while the corn continues to slowly cook and finish off.
When you are ready to eat, remove the corn on the cob from the grill onto a plate or platter. Let it sit until cool enough to handle, which typically takes about 5 minutes.
Peeling Back The Husk of Grilled Corn on the Cob
Once you begin to peel back the husk you are going to be amazed at how easy it comes off. But best of all, those little strands of silk that are difficult to remove prior to cooking, come off without any extra effort.
Plus, you now have a built in handle to hold your corn! No more of those corn on the cob holders that you use only a few times a year!
Other Methods To Cook Corn on the Cob
Stove top
Before grilling I had always made corn on the cob on the stovetop. I would take my largest stockpot and fill it ¾ full with water.
Once it came to a full roiling boil, I added the husked sweet corn. During the cooking process the little strings would float around the pot and the steam above the pot would fill the kitchen.
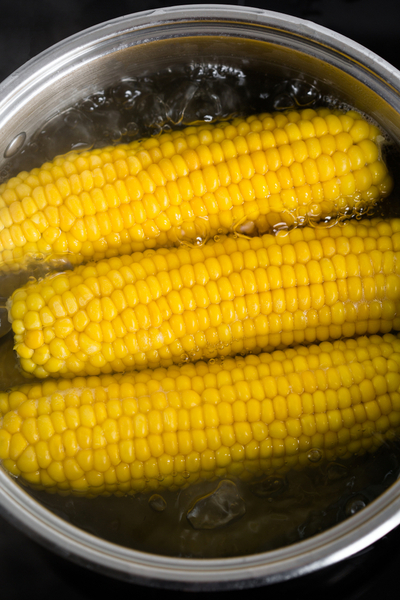
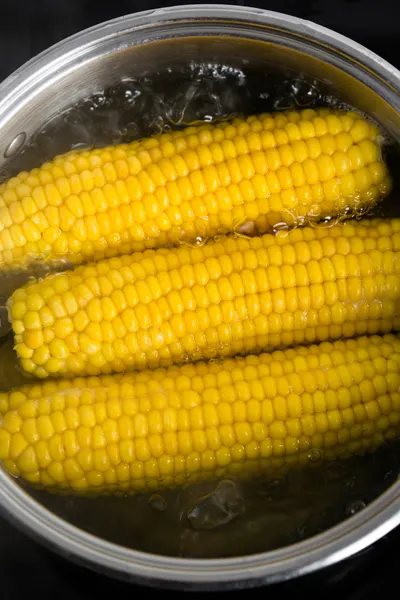
Not only did it make the kitchen hot, you had to watch the pot carefully so that the pieces remained submerged in the water for them to cook evenly.
After about 10-12 minutes, the corn is ready to come out of the pot. As we would begin to eat it, we would spend half of the time removing the remaining pieces of silk that were stuck between the kernels.
It always tasted absolutely delicious, but I became a hot mess while standing in the kitchen waiting for it to be ready. That is why I prefer to grill corn on the cob whenever possible.
Instant Pot
Then I learned how to cook Instant Pot Corn On The Cob.
I would still husk the corn prior to putting it in the pressure cooker. But the cooking time was a mere 4 minutes, if you didn’t count how long it took for the pot to come to pressure.
However, it was still a much faster and more hands off way to get the corn on the cob on the table.
But sometimes, I would have to cut the cobs in half for it all to fit inside the pot. And I had to use a steamer basket or trivet so that the corn did not sit in the water that is required to pressurize the pot.


Again, it tasted delicious and I appreciated the fact that I could walk away and forget it. However, there were two problems.
First, I now had two dishes to wash instead of one. And second, I could no longer serve large, whole pieces of corn on the cob.
Air Fryer Corn On The Cob
You can also cook sweet corn using an air fryer. It is a great alternative to grilling corn on the cob if you are cooking for just one or two people.
Here are the instructions for Air Fryer Corn on the Cob. And if you’re really looking to mix things up, try this Cream and Honey Corn on the Cob Recipe!
What To Serve With Grilled Corn On The Cob?
In the summer grilled corn goes with just about anything, but here are some of my favorites:
Enjoy! Mary
Follow My Facebook Page For Great Recipes! Make Your Meals Facebook Page


To receive our 3 Recipe Articles in your inbox each week, sign up for our free email list located in the middle of each recipe or email me at contact@makeyourmeals.com. You can also follow us on Facebook and Pinterest. This article may contain affiliate links where a small commission is paid if you purchase a product at no additional cost to you.
Grilled Corn on the Cob

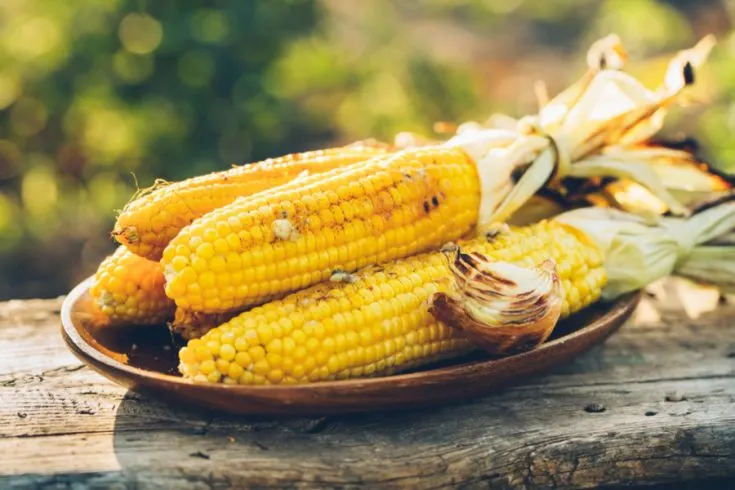
Corn on the cob grilled right in the husk that is super easy to shuck and cooked to perfection each and every time.
Ingredients
- 6 ears of Sweet Corn
- Water
- Butter to taste
- Seasoning to taste
Instructions
- Remove top 2 layers of husk off each piece of sweet corn.
- Soak the corn in water, being sure that they are submerged, for 60 minutes.
- Heat grill to 450°F
- Remove the corn from water and place over direct heat on the grill.
- Grill for approximately 20 minutes, turning every 5 minutes to char the entire husks.
- Remove from heat, let cool until able to safely be handled.
- Peel husks and add butter and seasonings as desire
Notes
Recipe provided by Make Your Meals
Nutrition Information:
Yield:
6Serving Size:
1 gramsAmount Per Serving: Calories: 93Total Fat: 3gSaturated Fat: 1gTrans Fat: 0gUnsaturated Fat: 1gCholesterol: 5mgSodium: 81mgCarbohydrates: 17gFiber: 2gSugar: 4gProtein: 3g
Nutritional Information is to be used as a general guideline only . Nutritional calculations will vary from the types and brands of the products used.