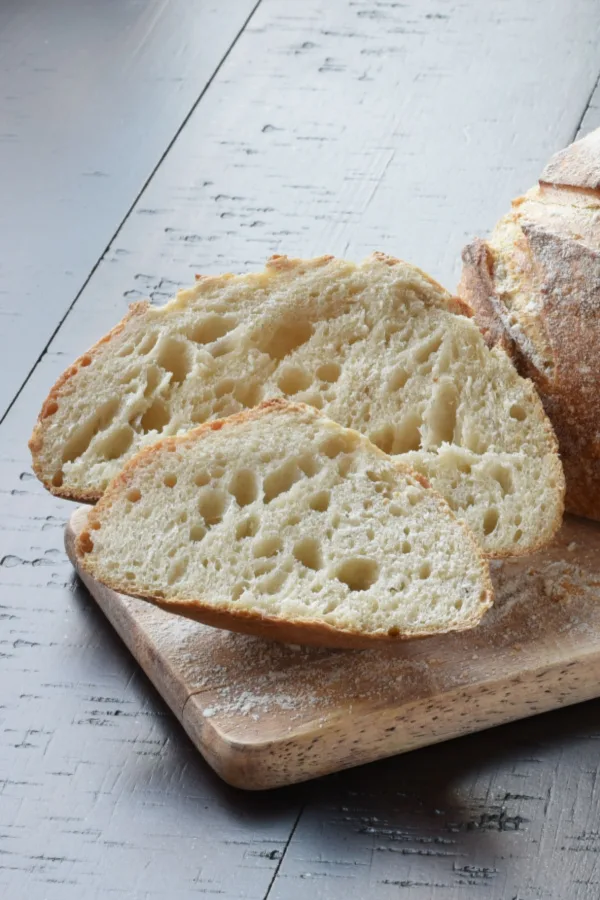
Have you ever walked into a bakery and looked in amazement at the Artisan Bread display on the racks? I am talking about those rustic round loaves of crusty bread that have cut designs on the top surface that literally look too good to eat.
However once you take the first slice you instantly fall in love with the light and airy texture of the center of the bread. It is the perfect bread to spread a little butter or jam on top and then serve it with breakfast, or to take a slice and dip it into your favorite soup.
No matter how you serve it you will want to eat a piece or two at every meal. But instead of heading to the bakery to get your bread fix, you can make it at home with this easy recipe.


With a few basic ingredients and some patience, you can achieve the rustic charm and enjoy the wholesome flavor of gourmet artisanal loaves right in your own kitchen.
Steps To Make Artisan Bread
1. Choose The Flour
Artisan bread is known for its rustic texture, chewy crust, and light and airy inside. The type of flour you choose plays a significant role in achieving these characteristics.
Bread Flour: Bread flour is a high-protein flour, usually around 12-14% protein content. The higher protein content provides the necessary gluten strength to create a chewy texture and a well-developed structure in artisan bread.
All-Purpose Flour: All-purpose flour, with a slightly lower protein content are most often used for making sweet breads like Banana Bread or Artisan bread. While it may not yield as much gluten development as bread flour, it will still produce good results.
Whole Wheat Flour: Whole wheat flour adds a nutty flavor and hearty texture to bread recipes. You can use it alone, but I find it is best to combine it with white flour for better texture. Start with a half and half mixture and adjust the amounts based on your taste and texture preferences.
2. Combine The Dry Ingredients
Now that you have your flour, place it in a large bowl. Then whisk in the salt, yeast and black pepper. Whisking allows the ingredients to become well incorporated but also allows air to be introduced into the dry ingredients which produces a more light texture.
3. Add Warm Water
Make a well in the center of your flour mound. The slowly pour the warm water in the well of the flour. However it is critical that the water is between the temperature of 100 – 110°F so that it activates the yeast. Use an instant read digital thermometer so that you are sure that the water is not too hot or too cold.

4. Make The Dough
Using a fork, mix the ingredients together until the flour is completely moistened. Then, use your hands to form the Artisan Bread dough into a ball. *You don’t need to knead the dough.
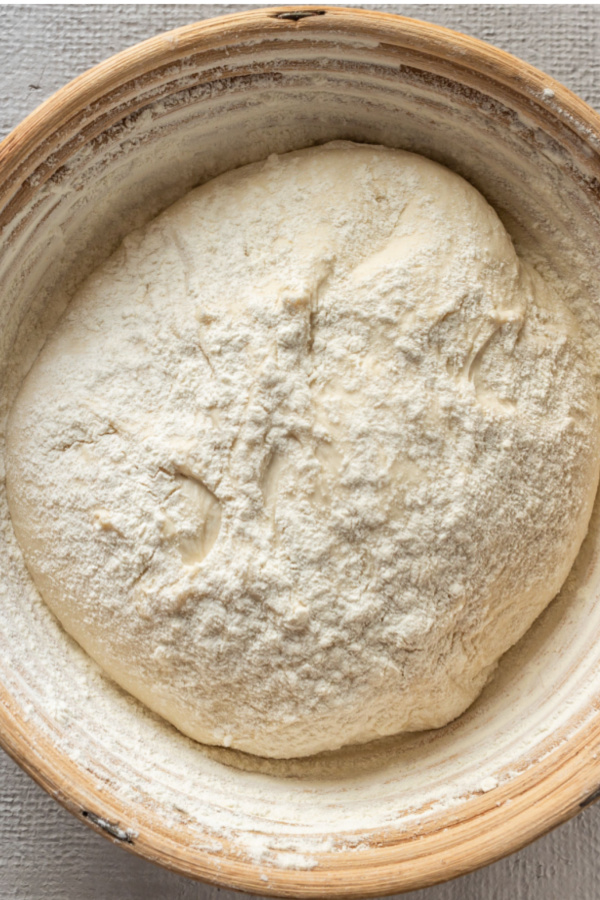
5. Let The Dough Rise
Drizzle extra virgin olive oil over the top of the dough, flip it over and drizzle a little more oil on top. Cover the bowl with plastic wrap and place it in a dry, warm space until doubled in size.
The standard proofing method will take 1-2 hours.
*Hint – to speed up the proofing process you can place the covered bowl in an oven that has been preheated to 200°F and then turned off. Or if you have an Instant Pot with the Yogurt function, place the dough in the liner coated with oil and add a glass lid. Then set the Yogurt button for 30 minutes.
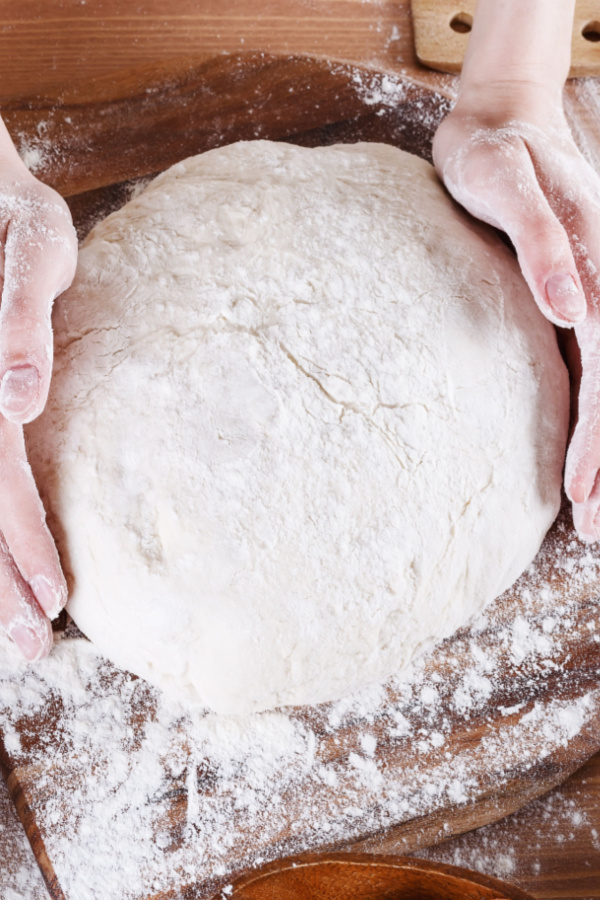
6. Divide and From The Artisan Bread Loaves
Once the dough is twice its original size, remove it from the bowl. Then divide the dough into 3 equal sections.
Working with one section at a time form the dough into round or oblong shapes, dusting the surface with flour as needed to prevent sticking.
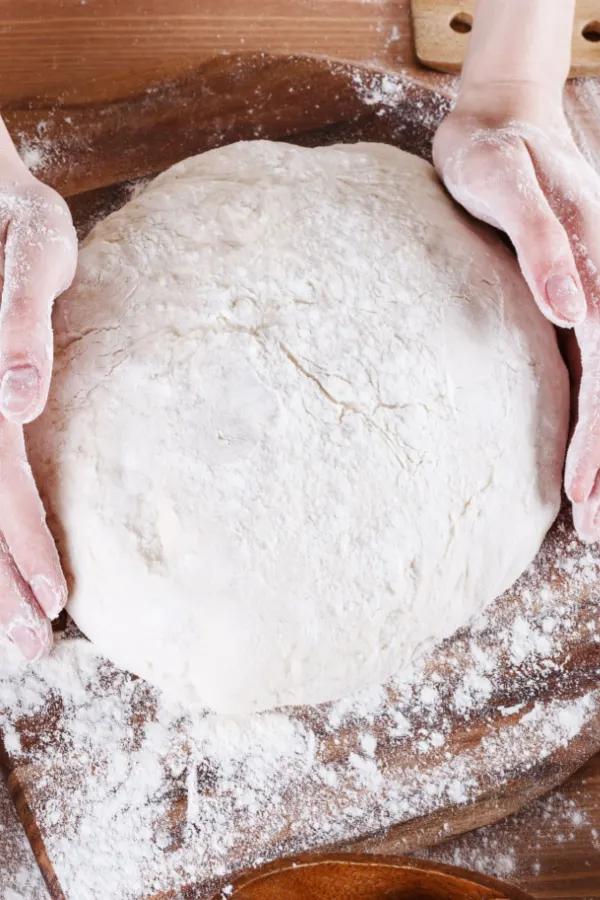
7. The Second Rise
Place each dough ball on baking sheets or baking stones, that have been dusted with flour. Cover them with a clean towel and allow them to rise again for 20-30 minutes.
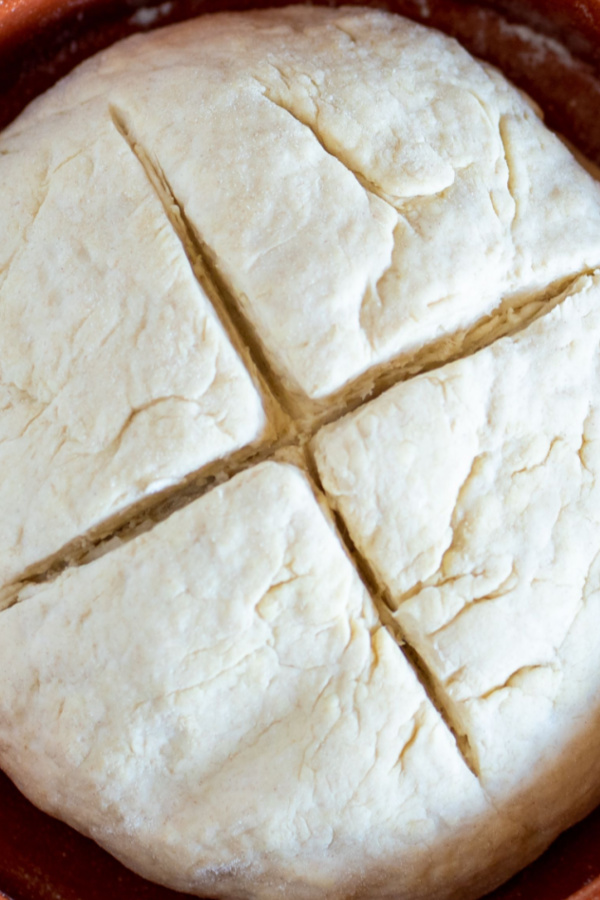
8. Vent The Dough
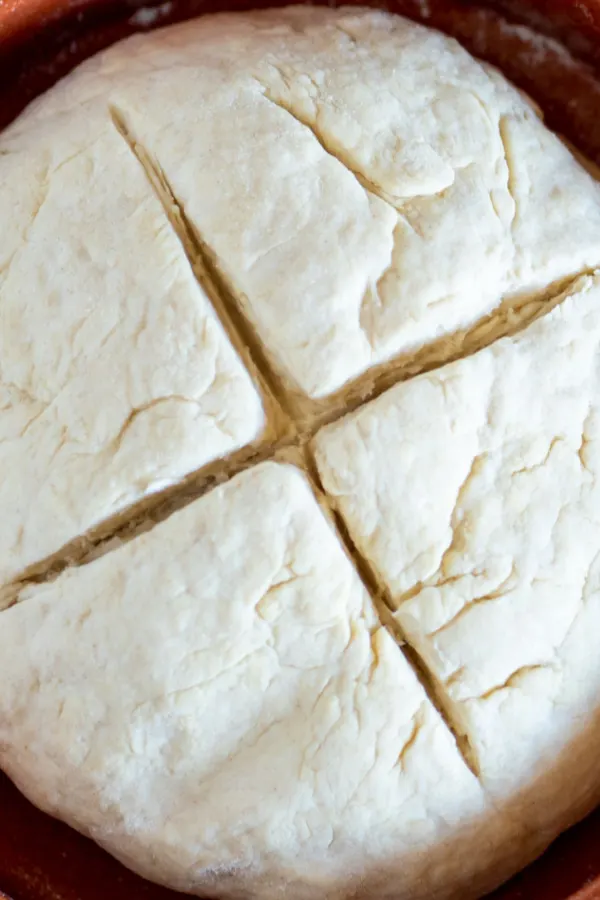
Right before you place the dough in the oven, use a sharp knife to make slits in the top of the bread. This is a crucial step as the bread needs to have the ability to release built up gas as it bakes.
You can get creative as you want here with your designs, but be sure to put at least 2-3 cuts in the top of the dough. I most often make criss-cross cuts but the choice is up to you.
9. Bake The Bread
Place the bread in a preheated oven and bake for 30-35 minutes. You will know that the bread is cooked through when it sounds hollow when you knock on the bottom of the bread.
10. Serve and Enjoy
Once the bread comes out of the oven place the loaves on a cooling rack. This will prevent the bottom of the bread from becoming soggy.
How to Store Artisan Bread
Allow your Artisan Bread to cool completely before storing. It is best to store, cut side down in a paper bag or reusable bread wrap. This will help keep the bread’s original texture.
However, you can also store it in a large resealable plastic bag, although the texture will become softer.
Freezer Option: Although it is not recommended to refrigerate bread, for long term storage you can store bread in an air-tight container in the freezer. I prefer to slice the bread and then stack the slices in an alternating pattern so I can pull slices out whenever I need one (or two).
Classic Artisan Bread Recipe
*Specific measurements and complete recipe instructions are located in a printable recipe card at the bottom of this article. However, be sure to continue to read the tips and tricks to making this recipe below.
INGREDIENTS
- 6 1⁄2 cups of all-purpose flour
- 3 cups of warm water, 100 – 110°F
- 1 1⁄2 tablespoons of kosher salt
- 1 1⁄2 tablespoons of granular yeast
- 1⁄4 teaspoon of black pepper
- extra virgin olive oil
INSTRUCTIONS
In a large bowl, mix the flour, pepper, yeast, and salt with a whisk until well incorporated. Slowly pour in the warm water and mix just until the ingredients come together.
Form into a rough large shaped ball.
Drizzle a light coat of extra virgin olive oil on top and flip the dough ball over and drizzle a little more oil over top, just enough to lightly coat the dough. Cover the bowl with plastic wrap and let the dough rise to double in size, approximately an hour or two.
Divide the dough into three even sections and form each into a ball. Place each ball on a baking stone or pan that you have dusted with a little flour, being sure to provide enough space between the dough to prevent from touching when rising.

Dust the outer edge of each dough ball with a light coat of flour to prevent sticking. Cover the dough on the pan or stone with a clean towel and let rest for about 20 to 30 minutes.
Preheat oven to 450°F and place a small pan of water on the bottom rack. Right before placing the bread in the oven take a sharp knife and make a couple of slits in the top of the loaf to allow the steam to vent.
Bake for 30 to 35 minutes or until the bread sounds hollow when tapped on the bottom. The cook time will depend on the size of your loaves.
Once the bread is done, remove it from the oven and place the loaves on cooling racks. Allow them to cool completely and then store as recommended above.
Enjoy! Mary


To receive our 3 Recipe Articles in your inbox each week, sign up for our free email list located in the middle of each recipe or email me at contact@makeyourmeals.com. You can also follow us on Facebook and Pinterest. This article may contain affiliate links where a small commission is paid if you purchase a product at no additional cost to you.
Classic Artisan Bread Recipe

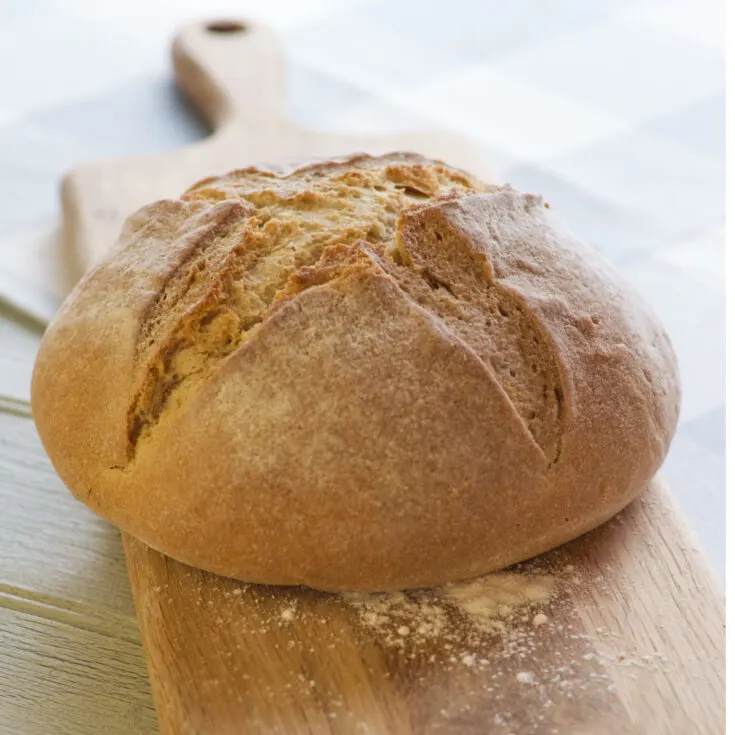
A classic homemade Artisan Bread recipe that gives you a round loaf of bread with a crunchy crust and a soft and pillowy center, just like you find at the bakery.
Ingredients
- 6 1/2 cups of all-purpose flour
- 3 cups of warm water, 100 - 110°F
- 1 1/2 tablespoons of kosher salt
- 1 1/2 tablespoons of granular yeast
- 1/4 teaspoon of black pepper
- extra virgin olive oil
Instructions
- In a large bowl, mix the flour, pepper, yeast, and salt with a whisk until well incorporated.
- Slowly pour in the warm water and mix just until the ingredients come together. Form into a roughly shaped ball. Drizzle a light coat of extra virgin olive oil on top and flip the dough ball over and drizzle a little more oil over top, just enough to lightly coat the dough.
- Cover the bowl with plastic wrap and let the dough rise to double in size, approximately an hour or two.
- Divide the dough into three even sections and form each into a ball. Place each ball on a baking stone or pan that you have dusted with a little flour, being sure to provide enough space between the dough to prevent from touching when rising. Dust the outer edge of each dough ball with a light coat of flour to prevent sticking.
- Cover the dough on the pan or stone with a clean towel and let rest for about 20 to 30 minutes.
- Preheat oven to 450°F and place a small pan of water on the bottom rack. Right before placing the bread in the oven take a sharp knife and make a couple of slits in the top of the loaf.
- Bake for 30 to 35 minutes or until the bread sounds hollow when tapped on the bottom.
Notes
This recipe makes 2-3 loaves of bread. We bake 2 loaves on one baking sheet and then bake the third one separately.
This bread can be frozen by wrapping foil around the cooled loaf and then placing it in a plastic wrap or in a large resealable bag.
If you prefer a softer crust, brush milk on the outer surface halfway through the baking process.
Recipe provided by Make Your Meals
Nutrition Information:
Yield:
3Serving Size:
1 gramsAmount Per Serving: Calories: 1046Total Fat: 8gSaturated Fat: 1gTrans Fat: 0gUnsaturated Fat: 5gCholesterol: 0mgSodium: 1906mgCarbohydrates: 209gFiber: 9gSugar: 1gProtein: 30g
Nutritional Information is to be used as a general guideline only . Nutritional calculations will vary from the types and brands of the products used.