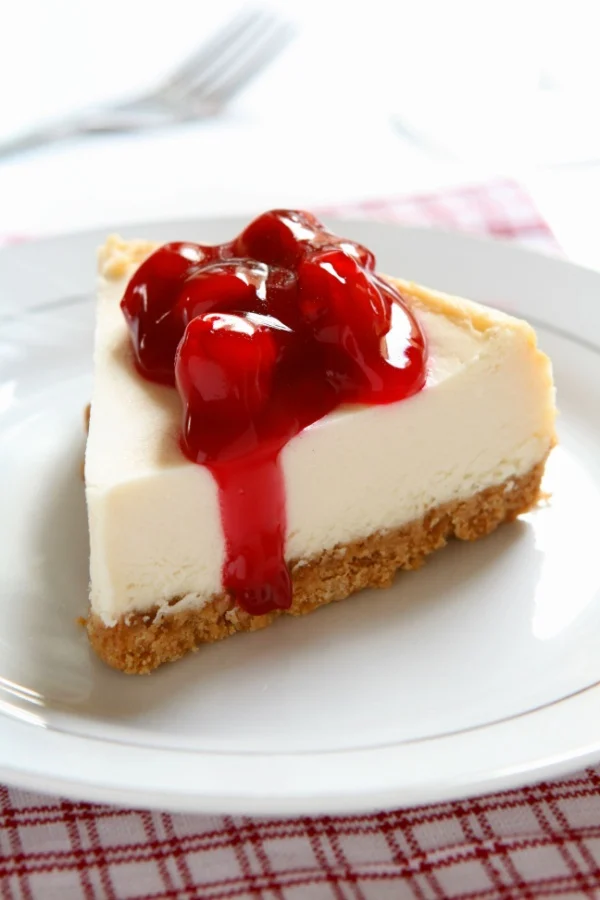
There are some desserts that instantly feel special the moment they hit the table, and for me, Cherry Cheesecake has always been one of them. It’s rich, creamy, and indulgent without being overly complicated to make, and that glossy cherry topping is simply irresistible!
Whenever I’m planning to make a Valentine’s Day dessert, this is one of the first recipes I reach for. It looks elegant and feels celebratory. But it is also a comforting recipe, which is exactly what I love about it.
I also love that cheesecake is a dessert you can make ahead of time. When you’re planning a holiday like Valentine’s Day, having dessert already taken care of is a huge win.


In fact, this Cherry Cheesecake can be made the day before, chilled overnight, and topped just before serving. That means less stress and more time to enjoy a quiet dinner at home or a cozy evening with someone special.
This recipe has been tested many times in my kitchen, and while it looks impressive, it’s actually very straightforward if you follow a few key steps. Using room-temperature ingredients, mixing gently, and baking the cheesecake in a water bath all help create that smooth, creamy texture that makes the perfect cheesecake.
And if you have ever tried to make a homemade cheesecake and it didn’t turn out well, you are going to love this recipe.
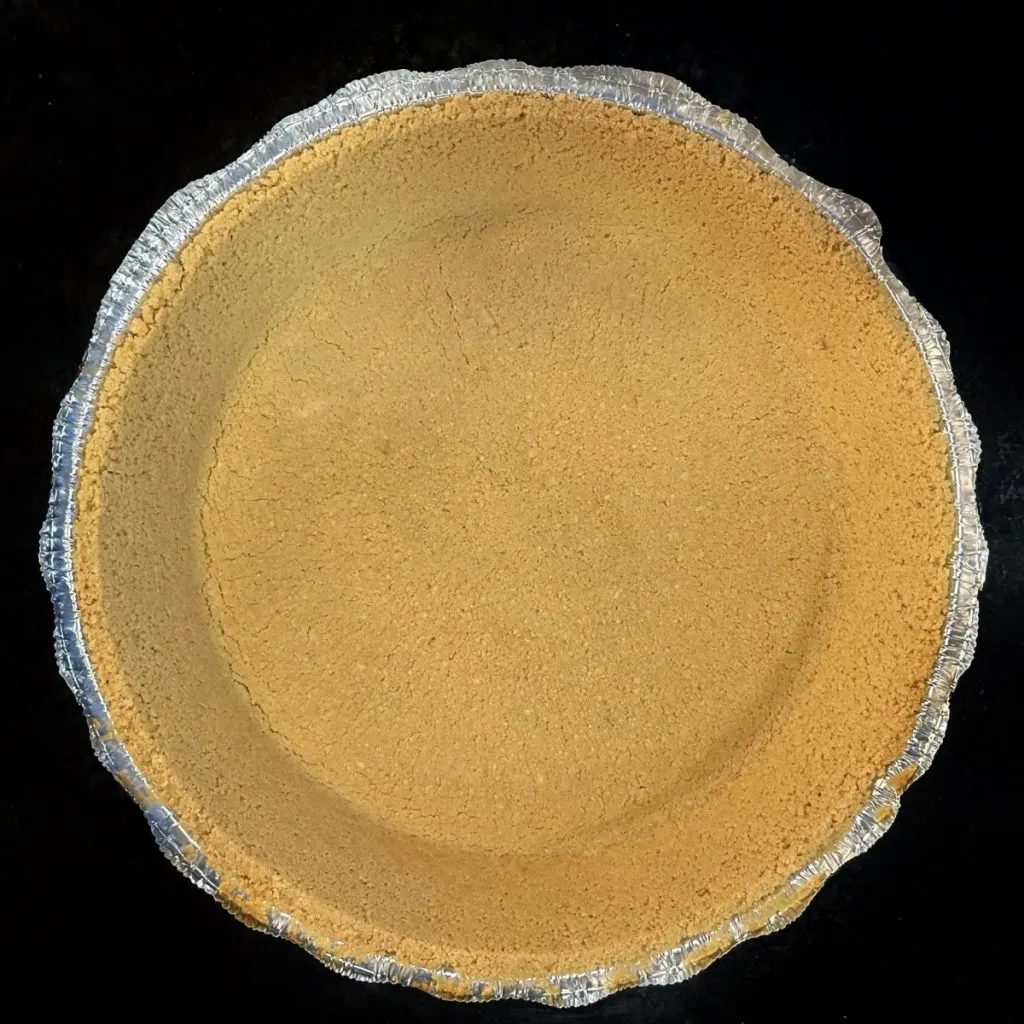
Use A Prepared Graham Cracker Crust
When it comes to making Cherry Cheesecake, using a prepared graham cracker crust is one of my favorite shortcuts. A store-bought crust is convenient and saves a surprising amount of time, especially when you’re already making a dessert that requires chilling and careful baking.
Most grocery stores carry classic honey graham cracker crusts, but you’ll also find variations like cinnamon or chocolate graham cracker crusts, which can subtly change the flavor of the finished cheesecake. A chocolate graham crust pairs especially well with cherry topping and adds a slightly richer, dessert-shop feel without any extra effort.
Another great option is using a prepared shortbread or vanilla wafer crust if you want something a little different from traditional graham cracker flavor. These crusts are slightly sweeter and create a softer contrast to the tangy cheesecake filling.
No matter which prepared crust you choose, I always recommend checking that it’s a deep-dish 9-inch crust so it can hold the full amount of filling without overflowing. If the edges seem thin, you can gently press them up slightly before filling to help support the cheesecake as it bakes.

Water Bath Method
In order for the cheesecake to bake to perfection, we are going to use the water bath method. I know water baths can sound intimidating, but they are one of the most important steps when making cheesecake.
The water bath helps regulate the oven temperature and prevents the cheesecake from cracking or drying out. The steam created by the hot water keeps the environment moist, which results in a smooth top and creamy interior.
Don’t worry. You don’t need anything fancy to make this work. A large roasting pan and a pot of boiling water are all you need. I’ll walk you through it step by step in the recipe below.
However if you have an Instant Pot – you can use the moisture in there to make Instant Pot Cherry Cheesecake instead.
Cherry Cheesecake Recipe
*Specific measurements and complete recipe instructions are located in a printable recipe card at the bottom of this article. However, be sure to continue to read the tips and tricks to making this recipe below.
INGREDIENTS
• 1 prepared 9-inch graham cracker crust
• 1 cup granulated sugar
• 32 ounces cream cheese, softened to room temperature
• 4 large eggs, room temperature
• 2 teaspoons pure vanilla extract
• ½ teaspoon almond extract
• ⅓ cup heavy cream
• 1 can cherry pie filling, for topping
Classic Cherry Cheesecake Instructions
- Preheat the oven to 350°F. Place a kettle of water (or a pot of water) on the stove and bring it to a boil.
- In a large mixing bowl or the bowl of a stand mixer fitted with a paddle attachment, add the softened cream cheese and sugar. Beat on medium speed for about two minutes, until the mixture is smooth and creamy. Stop and scrape down the sides and bottom of the bowl. Then mix again briefly to make sure everything is fully combined.
- Add the eggs one at a time, mixing on low speed after each addition. After the second egg and again after the final egg, scrape down the sides of the bowl to ensure the mixture stays smooth. Once all the eggs are incorporated, mix for about 30 seconds, just until the batter looks creamy and uniform.
- Add the vanilla extract, almond extract, and heavy cream. Mix on low speed for another 30 seconds until everything is blended. Avoid overmixing, as too much air can cause cracks while baking.
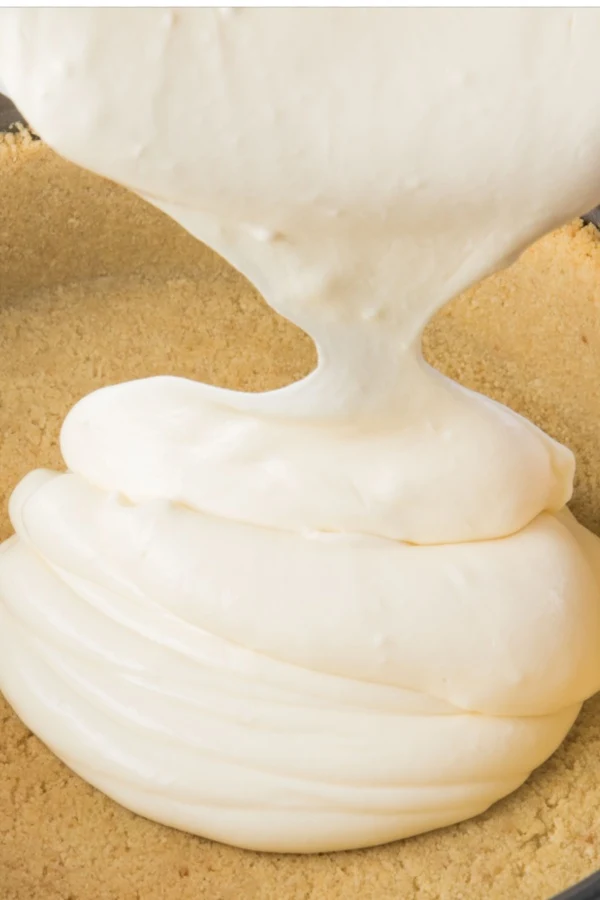
- Pour the cheesecake filling into the prepared graham cracker crust, smoothing the top gently with a spatula.

BAKING INSTRUCTIONS
- Place the cheesecake pan into a larger roasting pan. Carefully pour the boiling water into the roasting pan. Keep pouring until it reaches about halfway up the sides of the cheesecake pan. Loosely tent the cheesecake with foil, making sure not to seal it tightly, as airflow is still needed.
- Transfer the pan to the oven and bake for 55 to 65 minutes. The edges should look set, while the center will still have a slight jiggle when gently shaken.
- Once the baking time is up, turn off the oven and crack the oven door open. Allow the cheesecake to rest in the oven for one hour. This slow cooling process helps prevent cracking.
- After one hour, carefully remove the cheesecake from the water bath and place it on a cooling rack. Let it cool completely at room temperature, then refrigerate for at least 8 hours or overnight.
- Just before serving, spread the cherry pie filling evenly over the top of the cheesecake.
How To Know When Cheesecake Is Done
One of the most common questions I get about cheesecake is how to tell when it’s ready to come out of the oven. Cheesecake should not be completely firm in the center when it comes out of the oven.
Instead, the edges should be set, and the center should jiggle slightly when the pan is gently shaken. It will continue to firm up as it cools and chills in the refrigerator.
Overbaking is one of the main causes of cheesecake cracking. Therefore it’s better to err on the side of slightly underbaked.

Make-Ahead Tips For Valentine’s Day
This Cherry Cheesecake is an ideal make-ahead dessert. I actually recommend making it the day before you plan to serve it. The overnight chill allows the flavors to fully develop and gives the cheesecake the perfect texture.
If you’re serving this for Valentine’s Day, you can make the cheesecake the night before, keep it covered in the refrigerator, and add the cherry topping just before serving. This keeps the topping fresh and glossy.
How To Store Cherry Cheesecake Leftovers
Leftover Cherry Cheesecake should be stored in the refrigerator, covered tightly. It will keep well for up to five days. I like to use plastic wrap or an airtight container to prevent the cheesecake from absorbing other flavors from the fridge.
Cheesecake can also be frozen without the topping. Wrap individual slices tightly and freeze for up to two months. Thaw overnight in the refrigerator and add the cherry topping before serving.
However if you are going to eat it right away you can thaw it at room temperature. It is a great way to have a quick and easy dessert whenever you need one!
Enjoy! Mary
Follow My Facebook Page For Great Recipes! Make Your Meals Facebook Page


To receive our 3 Recipe Articles in your inbox each week, sign up for our free email list located in the middle of each recipe or email me at contact@makeyourmeals.com. You can also follow us on Facebook and Pinterest. This article may contain affiliate links where a small commission is paid if you purchase a product at no additional cost to you.
Classic Cherry Cheesecake

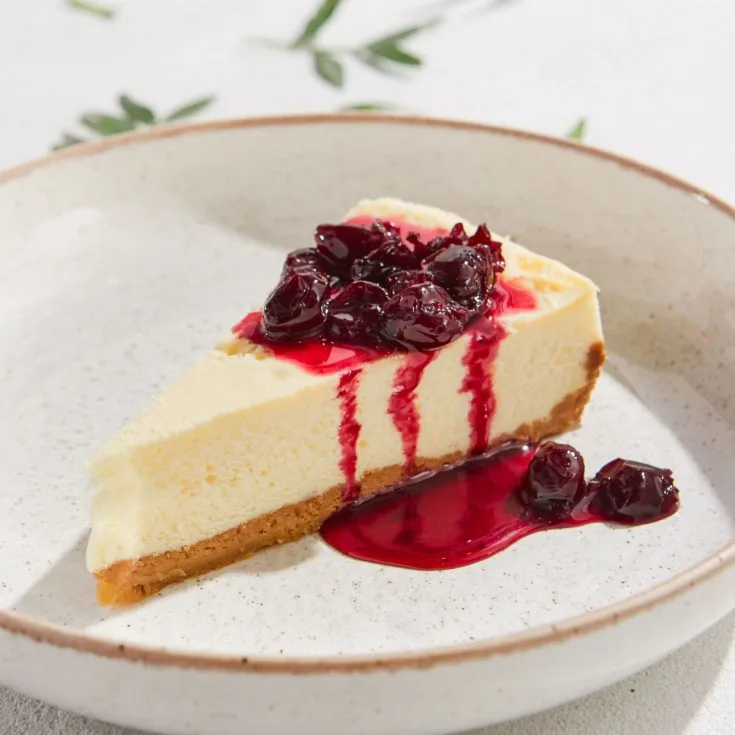
Classic Cherry Cheesecake made rich and creamy, topped with cherry pie filling. The perfect make-ahead Valentine’s Day dessert.
Ingredients
- 1 9-inch graham cracker crust
- 1 cup granulated sugar
- 32 ounces cream cheese, room temperature
- 4 large eggs, room temperature
- 2 teaspoons vanilla extract
- ½ teaspoon almond extract
- ⅓ cup heavy cream
- 1 can cherry pie filling
Instructions
- Preheat oven to 350°F and bring a kettle of water to a boil.
- Beat cream cheese and sugar until smooth.
- Add eggs one at a time, mixing gently.
- Mix in vanilla, almond extract, and heavy cream.
- Pour filling into crust.
- Place pan in a water bath and loosely tent with foil.
- Bake 55–65 minutes until edges are set and center jiggles slightly.
- Turn off oven, crack door, and rest cheesecake for 1 hour.
- Cool completely, then refrigerate at least 8 hours.
- Top with cherry pie filling before serving.
Notes
• Always use room-temperature ingredients for the smoothest filling
• Avoid overmixing to prevent cracks
• Chill overnight for best texture and flavor
Recipe provided by makeyourmeals.com
Nutrition Information:
Yield:
12Serving Size:
1Amount Per Serving: Calories: 477Total Fat: 34gSaturated Fat: 18gUnsaturated Fat: 15gCholesterol: 146mgSodium: 332mgCarbohydrates: 37gFiber: 0gSugar: 27gProtein: 8g
Nutritional Information is to be used as a general guideline only . Nutritional calculations will vary from the types and brands of the products used.