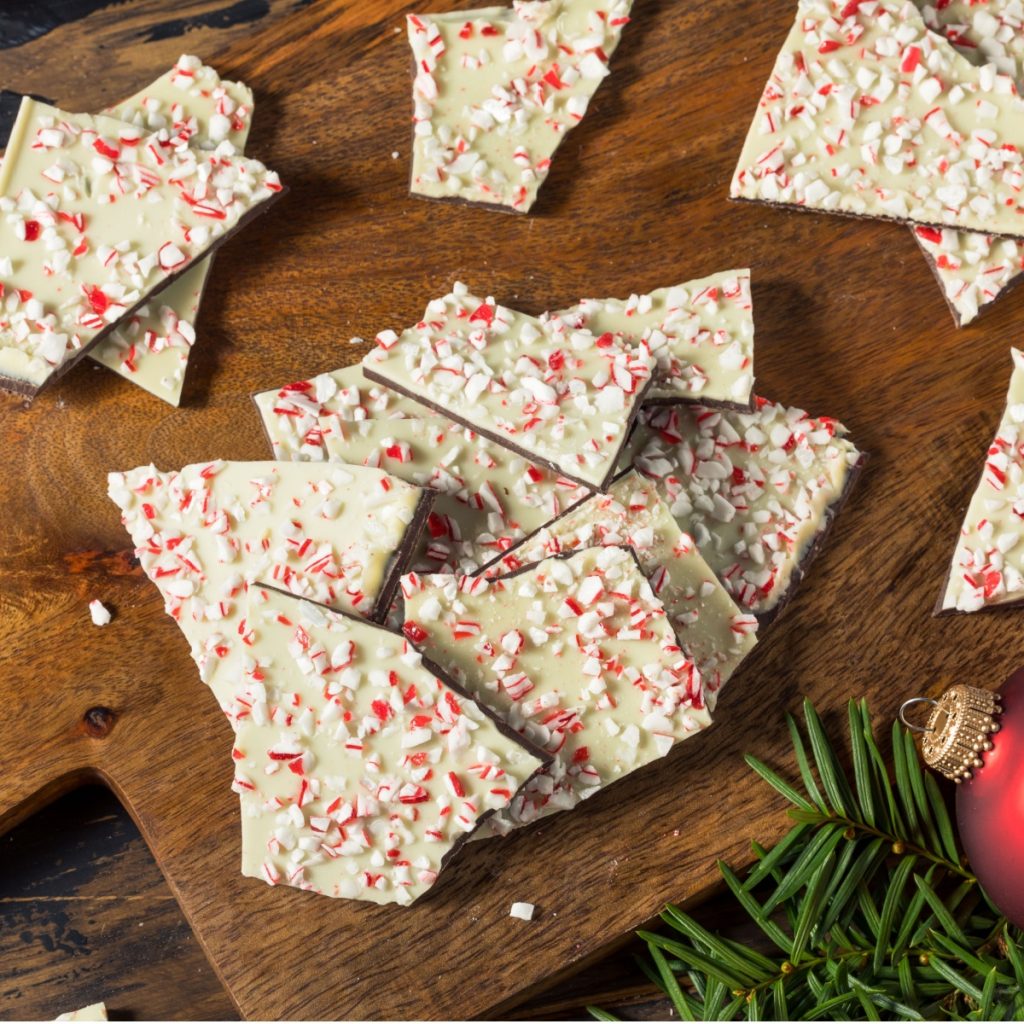
Peppermint bark is one of those classic holiday treats that I look forward to making every December. It is refreshing, festive, and incredibly easy to prepare even when the holiday season gets busy.
The combination of chocolate and crushed peppermint candy is a favorite flavor combination among many. And the bright red and white colors look great on cookie trays or dessert tables.
The best part is that peppermint bark requires only a few ingredients, and most of the work comes down to melting, spreading, and letting the chocolate set.

Why Peppermint Bark Is A Must-Make
I make this peppermint bark every year for parties, family gatherings, and small homemade gifts. It stores well, packs easily, and always disappears quickly because the flavor is so simple and delicious.
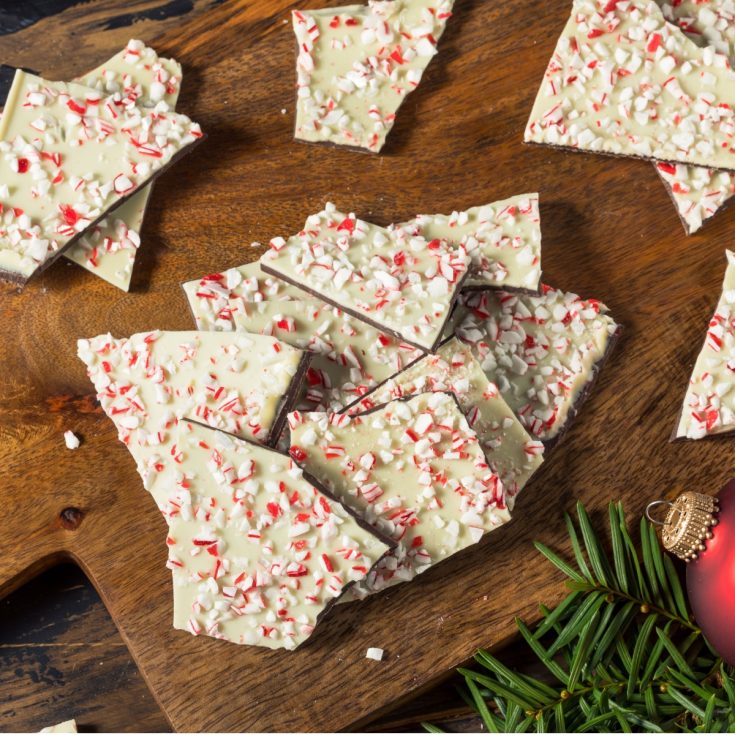
The base layer of semisweet chocolate gives the candy richness, while the white chocolate adds creaminess. Then the peppermint pieces give it crunch and a cool flavor that almost everyone loves during the holidays.
Even though peppermint bark may look like a professional candy shop item, it only takes a bit of attention to temperature and timing to get perfect results.
The goal is to let the first layer set just enough so the edges firm up while the center remains slightly soft. When the bottom chocolate layer is too hard before the white chocolate is added, the layers can separate as the bark cools. And if it is too soft, the layers can blend together and lose their clear definition.
However, before you begin melting anything, prepare your workspace with parchment paper set on a large baking sheet or the counter. And crush the candy canes ahead of time so they are ready to sprinkle.
When the white chocolate is still warm, the peppermint pieces will stick much better and stay in place once the bark hardens. Preparing everything in advance helps the recipe flow smoothly, especially since chocolate can firm up quickly once it begins to cool.

Melting the chocolate in short bursts in the microwave helps prevent scorching. Chocolate burns easily, especially white chocolate, which can turn thick and chalky if overheated.
Stirring between heating cycles keeps the heat distributed evenly, and stopping just as the chocolate becomes smooth ensures the right texture.
Why The Layers & Timing Matters
Each step in making peppermint bark plays a role in the final texture. The base layer is the foundation, and spreading it into an even nine-by-thirteen-inch rectangle helps the bark cool evenly.
If some sections are too thick, they may stay soft longer and bend when cut. If other sections are too thin, they may become brittle. Keeping everything even helps the bark break cleanly once set.
The Critical Period
After spreading the semisweet chocolate, the ten-minute chilling period is critical. The refrigerator helps set the edges first because they cool quicker.
The middle remains slightly warm and soft because it is thicker. This soft center is important because it allows the white chocolate layer to sink just enough into the base. When the two layers cool together, they fuse tightly and stay together when the bark is cut.

While the base chills, melt the white chocolate using the exact same method, heating in small bursts and stirring often. Once the white chocolate melts, stir in the peppermint extract.
Adding the extract too early can cause the chocolate to seize, so mixing it in after melting gives the best results. The scent of peppermint instantly fills the kitchen and begins the holiday feel before the candy is even finished.
As soon as the base layer reaches the ten-minute mark, take it out of the refrigerator. Waiting longer can cause the chocolate to become too hard, which makes bonding difficult.
Spread the melted white chocolate over the top and work gently to avoid lifting the base layer. Once it is smooth, sprinkle the crushed peppermint immediately. If the chocolate cools too much before the topping is added, the candy cane pieces may not stick well.
Once topped, the bark chills again so both layers harden together. When fully chilled, letting the bark rest for twenty minutes before cutting is just as important.
Cold chocolate tends to shatter, while slightly warmed chocolate cuts cleanly. Give it this short rest time for smooth, neat pieces. However if you want a more random look, go ahead and break it will it is still cold.
Peppermint Bark Recipe
*Specific measurements and complete recipe instructions are located in a printable recipe card at the bottom of this article. However, be sure to continue to read the tips and tricks to making this recipe below.
INGREDIENTS
- 12 ounces semisweet chocolate chips or chopped semi sweet chocolate
- 16 ounces white chocolate chips or chopped white chocolate
- 1/2 teaspoon peppermint extract
- 3/4 cup crushed peppermint mints or candy canes*
If you have any extra peppermints or candy canes, be sure to make Peppermint Ice Cream. It’s one of my favorite desserts (even in the winter)!
INSTRUCTIONS
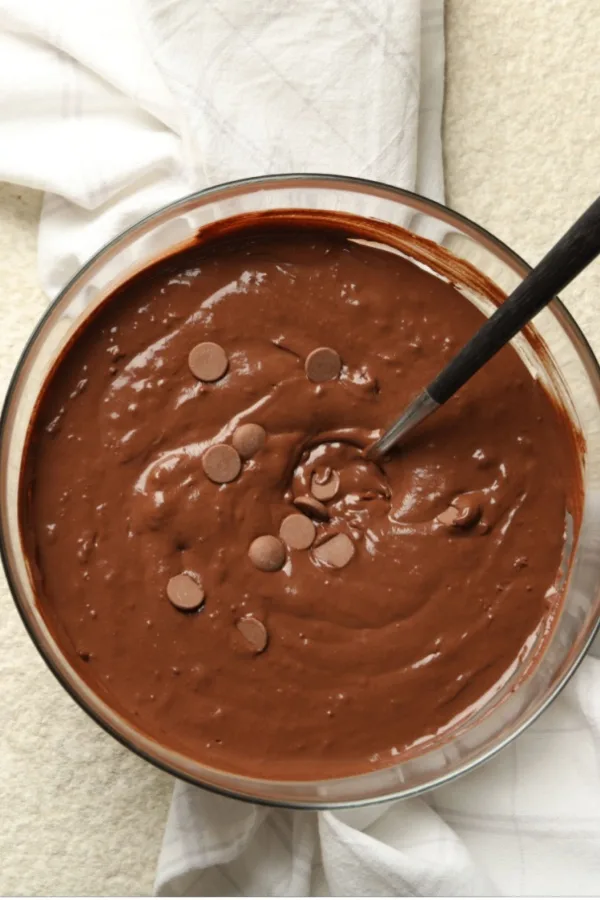
Place the semisweet chocolate chips in a microwave-safe bowl and heat in thirty-second intervals, stirring after each one, until melted and smooth. Spread the chocolate into a loose nine-by-thirteen-inch rectangle on parchment paper.
Place the tray in the refrigerator for ten minutes only. The edges should be set while the middle remains slightly soft. Do not let the layer harden completely.
Melt the white chocolate chips in the same way using short microwave bursts. Stir in the peppermint extract once the chocolate is smooth.
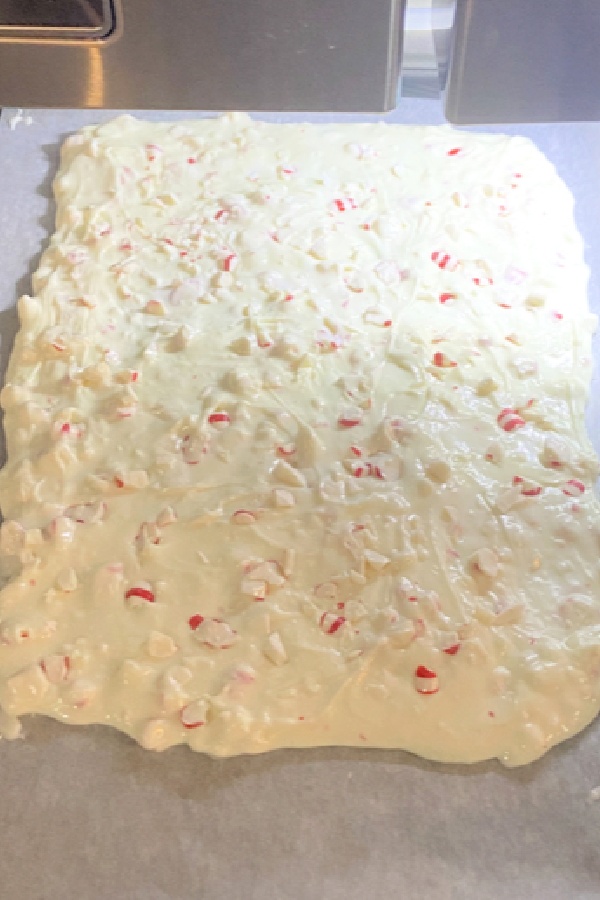
Spread the white chocolate evenly over the semisweet base. Immediately sprinkle crushed candy canes over the warm white chocolate.
Refrigerate the bark for about twenty minutes or until fully set. Remove and let it rest at room temperature for about twenty minutes.
Cut the peppermint bark using a chef’s knife by pressing straight down to slice through both layers cleanly. Serve and enjoy.

Storing and Serving Peppermint Bark
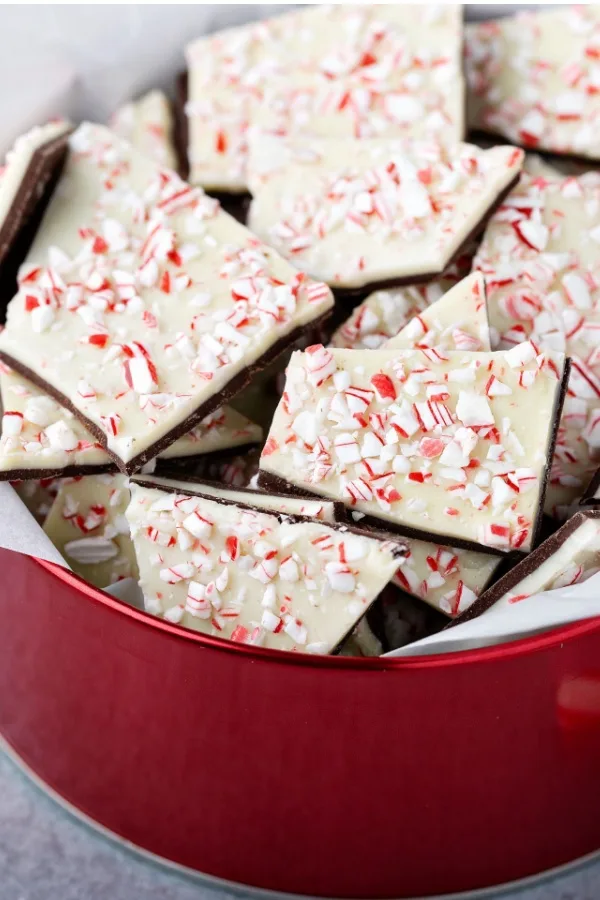
Once the peppermint bark is cut, it is ready to store, serve, or package. This candy keeps well because chocolate is naturally shelf-stable when stored in a cool and dry spot.
Place the pieces in airtight containers or tins and keep them at room temperature for up to a week. For longer storage, refrigerate them for up to two weeks.
Peppermint bark also freezes very well, making it a great make-ahead gift or treat. Just thaw it at room temperature for the best texture.
Peppermint bark makes a great addition to holiday dessert trays and Christmas cookie boxes. It ships well and works beautifully as a homemade gift.
You can also crush some of the bark to sprinkle over ice cream, hot chocolate, or brownies. The mix of peppermint and chocolate adds both flavor and crunch, and a little goes a long way.
If you want to make flavored variations, you can experiment with different types of chocolate, add tiny chocolate chips to the white layer, or even mix in a pinch of sea salt.
But the classic version with smooth chocolate and crushed peppermint candy remains the most popular because it delivers the perfect holiday flavor without needing anything extra.
Enjoy! Mary
Follow My Facebook Page For Great Recipes! Make Your Meals Facebook Page


To receive our 3 Recipe Articles in your inbox each week, sign up for our free email list located in the middle of each recipe or email me at contact@makeyourmeals.com. You can also follow us on Facebook and Pinterest. This article may contain affiliate links where a small commission is paid if you purchase a product at no additional cost to you.
Peppermint Bark

Make delicious homemade peppermint bark with smooth layers of chocolate and crunchy peppermint for an easy, festive holiday treat.
Ingredients
- 12 ounces semisweet chocolate chips
- 16 ounces white chocolate chips
- 1/2 teaspoon peppermint extract
- 3/4 cup crushed peppermint mints or candy canes
Instructions
- Melt semisweet chocolate in short microwave bursts, stirring until smooth. Spread into a 9x13-inch rectangle. Chill in the refrigerator for 10 minutes only.
- Melt white chocolate the same way. Stir in peppermint extract. Spread the white chocolate over semisweet layer and sprinkle crushed candy canes on top.
- Chill in the refrigerator for 20 minutes or until set.
- Remove from the refrigerator and let it rRest at room temperature 20 minutes so that it is just soft enough to cut.
- Cut or break into pieces and serve.
Notes
• Do not chill the first layer beyond ten minutes or the layers may separate.
• High-quality chocolate improves taste and texture.
• Crush peppermint candy or candy canes finely for even topping.
• Store in airtight containers for best freshness.
Recipe provided by makeyourmeals.com
Nutrition Information:
Yield:
16Serving Size:
1Amount Per Serving: Calories: 298Total Fat: 15gSaturated Fat: 9gUnsaturated Fat: 6gCholesterol: 12mgSodium: 41mgCarbohydrates: 37gFiber: 5gSugar: 26gProtein: 5g
Nutritional Information is to be used as a general guideline only . Nutritional calculations will vary from the types and brands of the products used.