If you are looking for a quick and easy to make dessert, then you are going to love this Pineapple Cherry Dump Cake recipe. It is one of those surprisingly delicious desserts that comes together in minutes with just four basic ingredients.
Best of all, the entire recipe is made in one dish and doesn’t require any mixing. Just layer the ingredients in the baking dish and put it in the oven. It doesn’t get any easier than that!
It is the perfect dessert to throw together last minute for a potluck, a weekend get-together, or just on a busy weeknight when you want something sweet without spending a lot of time in the kitchen. When it bakes it has a golden buttery topping, a gooey fruity layer, and just the right balance of sweet and tart.


I usually serve it warm, but it’s just as good at room temperature – which makes it perfect when you need something you can take to a get together and not worry about reheating.
What Exactly Is a Dump Cake?
If you’re not familiar with dump cake, the name pretty much says it all. You just “dump” the ingredients into the pan and then bake it.
There are no mixing bowls or beaters involved. It’s one of the easiest dessert recipes out there, and the end result tastes like something that took a whole lot more effort.
Although I also make an Apple Dump Cake, this Pineapple Cherry version is the classic combination. The crushed pineapple adds moisture and sweetness, while the cherry pie filling brings that tart punch and beautiful color.
Topped with yellow cake mix and butter, it bakes into a cobbler-like dessert. It has that traditional crisp, buttery top that covers a juicy fruit bottom.
The Ingredients
Here’s what you’ll need:
- 1 (20 oz.) can crushed pineapple, with the juice (don’t drain it)
- 1 (21 oz.) can cherry pie filling
- 1 box classic yellow cake mix (Yes, it works with Gluten Free Cake Mix too)
- 1 stick (1/2 cup) butter, cut into 16 small sections
That’s it! No eggs, no milk, no oil – just these four pantry staples.

How to Make Pineapple Cherry Dump Cake
Step 1: Preheat and grease your pan
Set your oven to 350°F and then lightly grease a 13 x 9 inch baking dish. You can use cooking spray or just rub a little butter on the bottom.
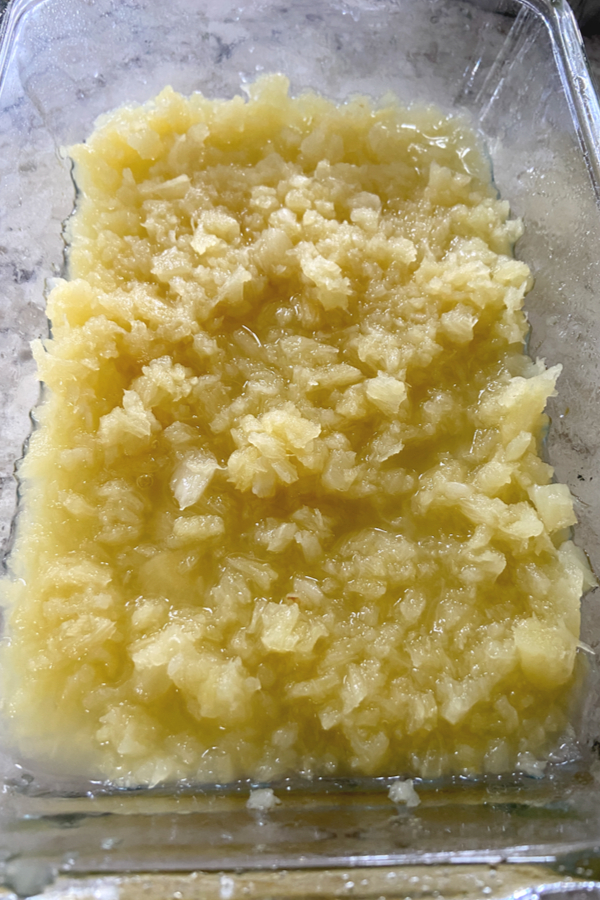
Step 2: Dump in the pineapple
Open your can of crushed pineapple and pour the entire contents- juice and all- into the greased pan. Use a spoon or spatula to spread it out evenly.
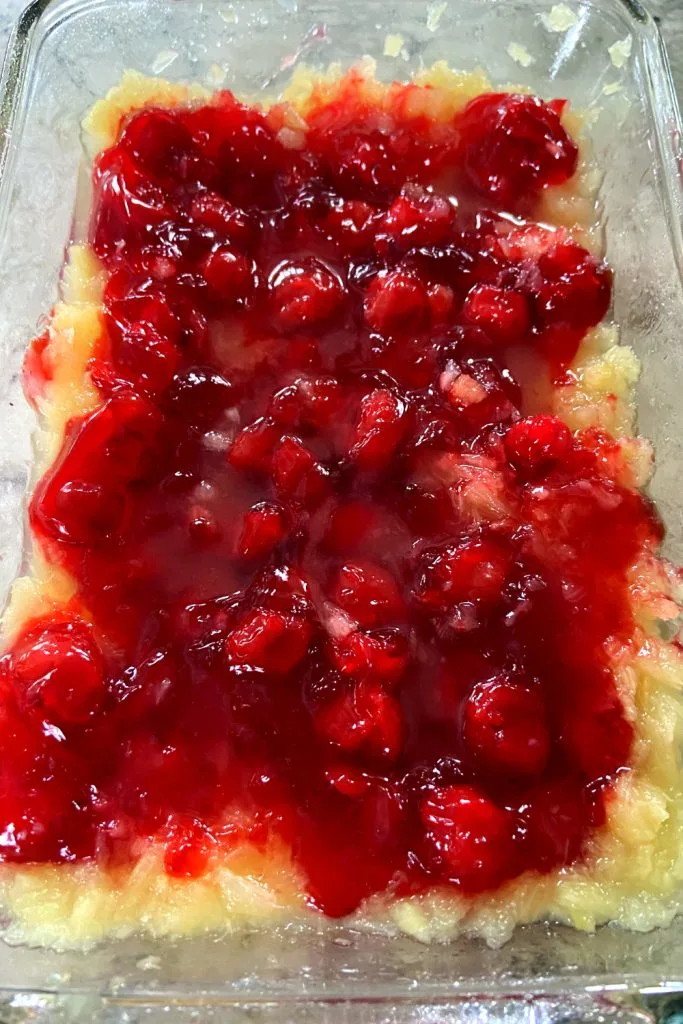
Step 3: Add the cherry pie filling
Spoon the cherry pie filling on top of the pineapple layer and then gently spread it out. Don’t worry about mixing them together. Just get the layers as even as you can.

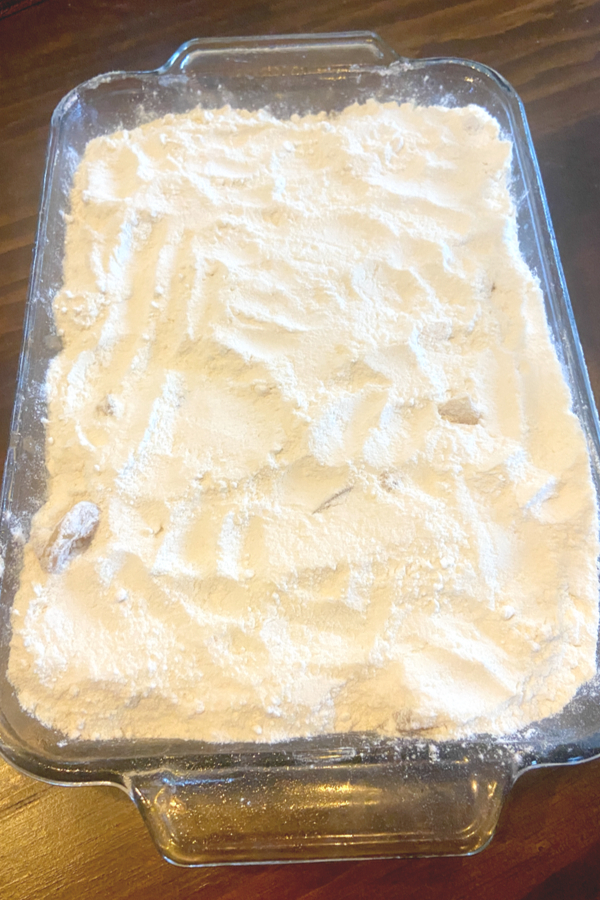
Step 4: Sprinkle the cake mix
Open the box of your dry cake mix and then sprinkle it evenly over the top of the fruit layer. Try to cover the fruit as completely as you can.
Step 5: Add the butter
Cut your butter into 16 small sections (I usually just slice the stick into even pieces). Then place the pieces all over the top of the dry cake mix. Try to space them out fairly evenly so that the butter melts and covers as much of the top as possible.
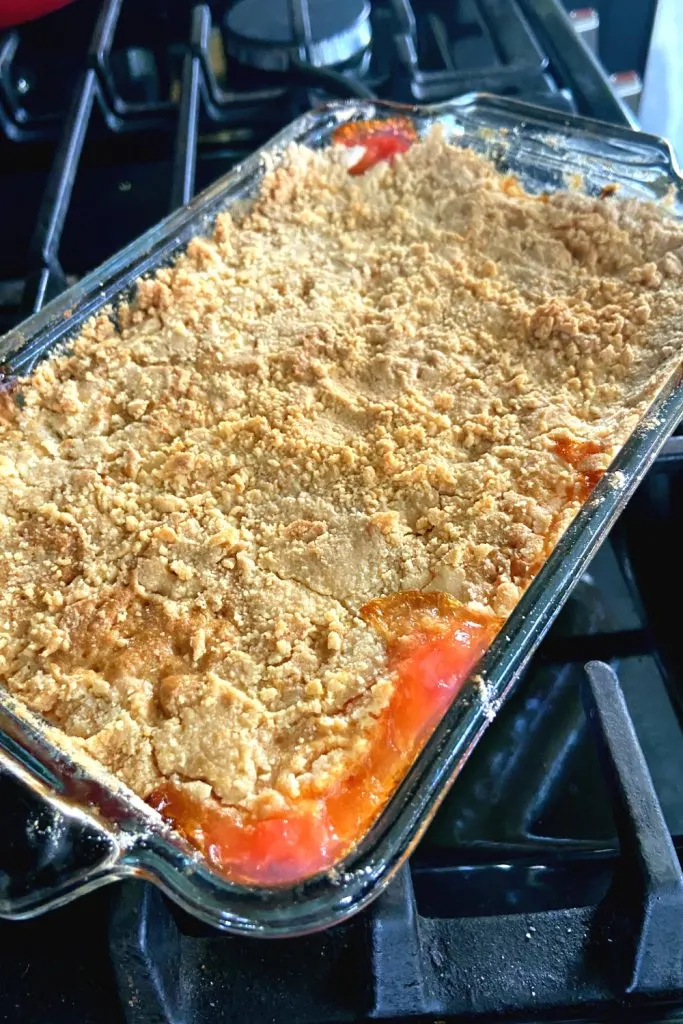
Step 6: Bake
Bake for about 50 minutes, or until the top is golden brown and the edges are bubbling. You’ll see some dry spots on top- that’s normal. The butter won’t soak through every bit of cake mix, and that’s part of what gives it that crisp topping.
Step 7: Let it cool (or not!)
You can serve this warm right out of the oven, or let it sit and enjoy it at room temperature. It holds up well either way.

Notes and Serving Tips
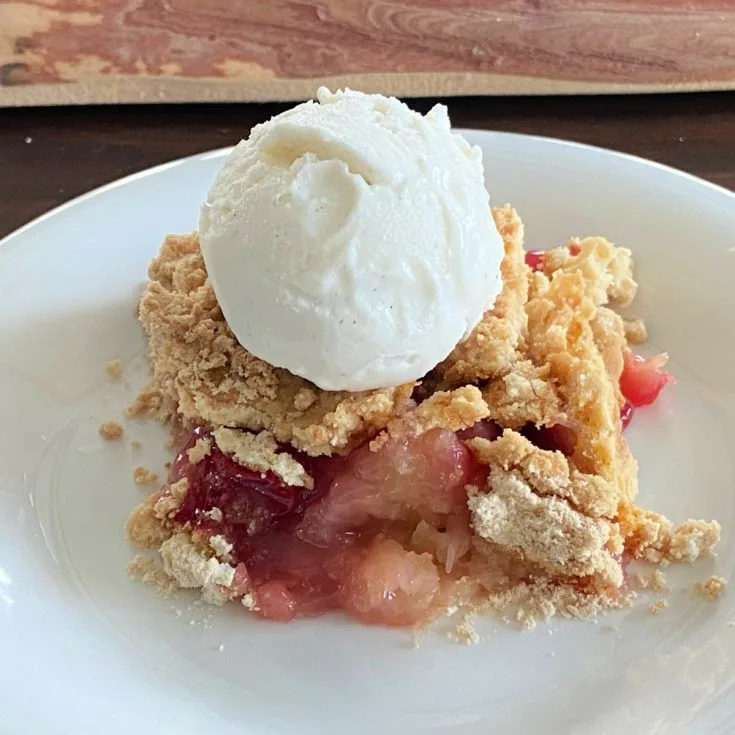
- Vanilla ice cream. A warm scoop of this dump cake with some cold vanilla ice cream on top is hard to beat. The ice cream melts into the buttery cake and gooey fruit making it the perfect combo.
- You can prep ahead. If you’re taking this to a potluck, you can bake it earlier in the day and just cover it loosely with foil once it cools. It doesn’t need refrigeration unless you’re keeping it for more than a day or two.
- Leftovers are great. Store any leftovers covered in the fridge. If you want a warm dessert just microwave a slice for 15–20 seconds to warm it up.
Can I Use Different Fruit?
Absolutely. Dump cakes are super flexible. If you’re not a fan of pineapple or cherries, or just want to try something new, here are a few ideas:
- Blueberry + Pineapple – Replace cherry pie filling with blueberry for a milder flavor.
- Apple + Cinnamon – Use a can of apple pie filling and sprinkle a little cinnamon over the top before adding the cake mix.
- Peach + Pineapple – Use canned sliced peaches (with juice) and keep the pineapple for a tropical twist.
You can also use white cake mix or even spice cake mix for a change in flavor for the topping.
Tips for the Best Pineapple Cherry Dump Cake
- Don’t mix the layers – It might feel strange not to stir everything together, but trust the process. Dump cakes are supposed to be layered. The fruit bakes down and bubbles up into the cake mix, and the butter gives you that golden crust on top.
- Space out the butter evenly – This helps the topping bake evenly and not have too many dry spots.
- Use real butter – Margarine or spreadable butters don’t melt the same way and can leave the top too dry.

Can You Make Pineapple Cherry Dump Cake in Advance?
Yes, you can. This dessert holds up well for a couple of days. If you want to make it ahead of time, just bake it as directed, cool it completely, then cover and refrigerate it. When you’re ready to serve, you can either bring it to room temp or warm it up in the oven or microwave.
I don’t recommend assembling it ahead of time and baking it later, though. The dry cake mix starts to soak up moisture from the fruit, and the texture won’t turn out quite the same.
An Easy Dessert That Everyone Loves
This Pineapple Cherry Dump Cake is one of those old-school desserts that’s been around forever and for good reason. It’s easy and always a crowd-pleaser.
Whether you’re feeding family on a weeknight or showing up to a potluck with something that tastes like it took a lot more effort, this recipe gets the job done. And honestly, nobody ever guesses how easy it is. If you are looking for a more traditional pineapple cake, try this Pineapple Upside Down Cake Recipe.
Enjoy! Mary
Follow My Facebook Page For Great Recipes! Make Your Meals Facebook Page


To receive our 3 Recipe Articles in your inbox each week, sign up for our free email list located in the middle of each recipe or email me at contact@makeyourmeals.com. You can also follow us on Facebook and Pinterest. This article may contain affiliate links where a small commission is paid if you purchase a product at no additional cost to you.
Pineapple Cherry Dump Cake Recipe

A delicious and easy to make dessert that only requires 4 ingredients and no mixing. Serve warm or at room temperature which makes it ideal for pot lucks!
Ingredients
- 1 20 oz. can crushed pineapple with juice, undrained
- 1 21 oz. can Cherry Pie Filling
- 1 box Classic Yellow Cake Mix
- 1 stick (1/2 cup) butter, cut in 16 sections
Instructions
- Preheat oven to 350°F
- Grease a 13"x 9" pan
- Dump pineapple with juice into pan and spread evenly.
- Dump in the cherry pie filling and spread evenly.
- Sprinkle cake mix evenly over cherry layer.
- Scatter butter sections on top of the cake mix.
- Bake 50 minutes or until top is lightly browned.
- Serve warm or at room temperature.
Notes
Top with a scoop of vanilla ice cream.
Recipe provided by Make Your Meals
Nutrition Information:
Yield:
14Serving Size:
1 gramsAmount Per Serving: Calories: 213Total Fat: 1gSaturated Fat: 1gTrans Fat: 0gUnsaturated Fat: 0gCholesterol: 0mgSodium: 281mgCarbohydrates: 49gFiber: 1gSugar: 22gProtein: 2g
Nutritional Information is to be used as a general guideline only . Nutritional calculations will vary from the types and brands of the products used.